Enclosures & Cases
Ikea Lack Enclosure
SKU 3DPW-pr-388132
$200.00NZD
In stock · Made-to-order resin · Ships from Auckland · Free shipping over $75
- Material
- PLA (filament)
- Colour
- Grey
- Weight
- ~40 g
- Print time
- ~4.5 h
- Shipping
- $10 std · $20 express
- Lead time
- 1-3 d print + 1-4 d ship
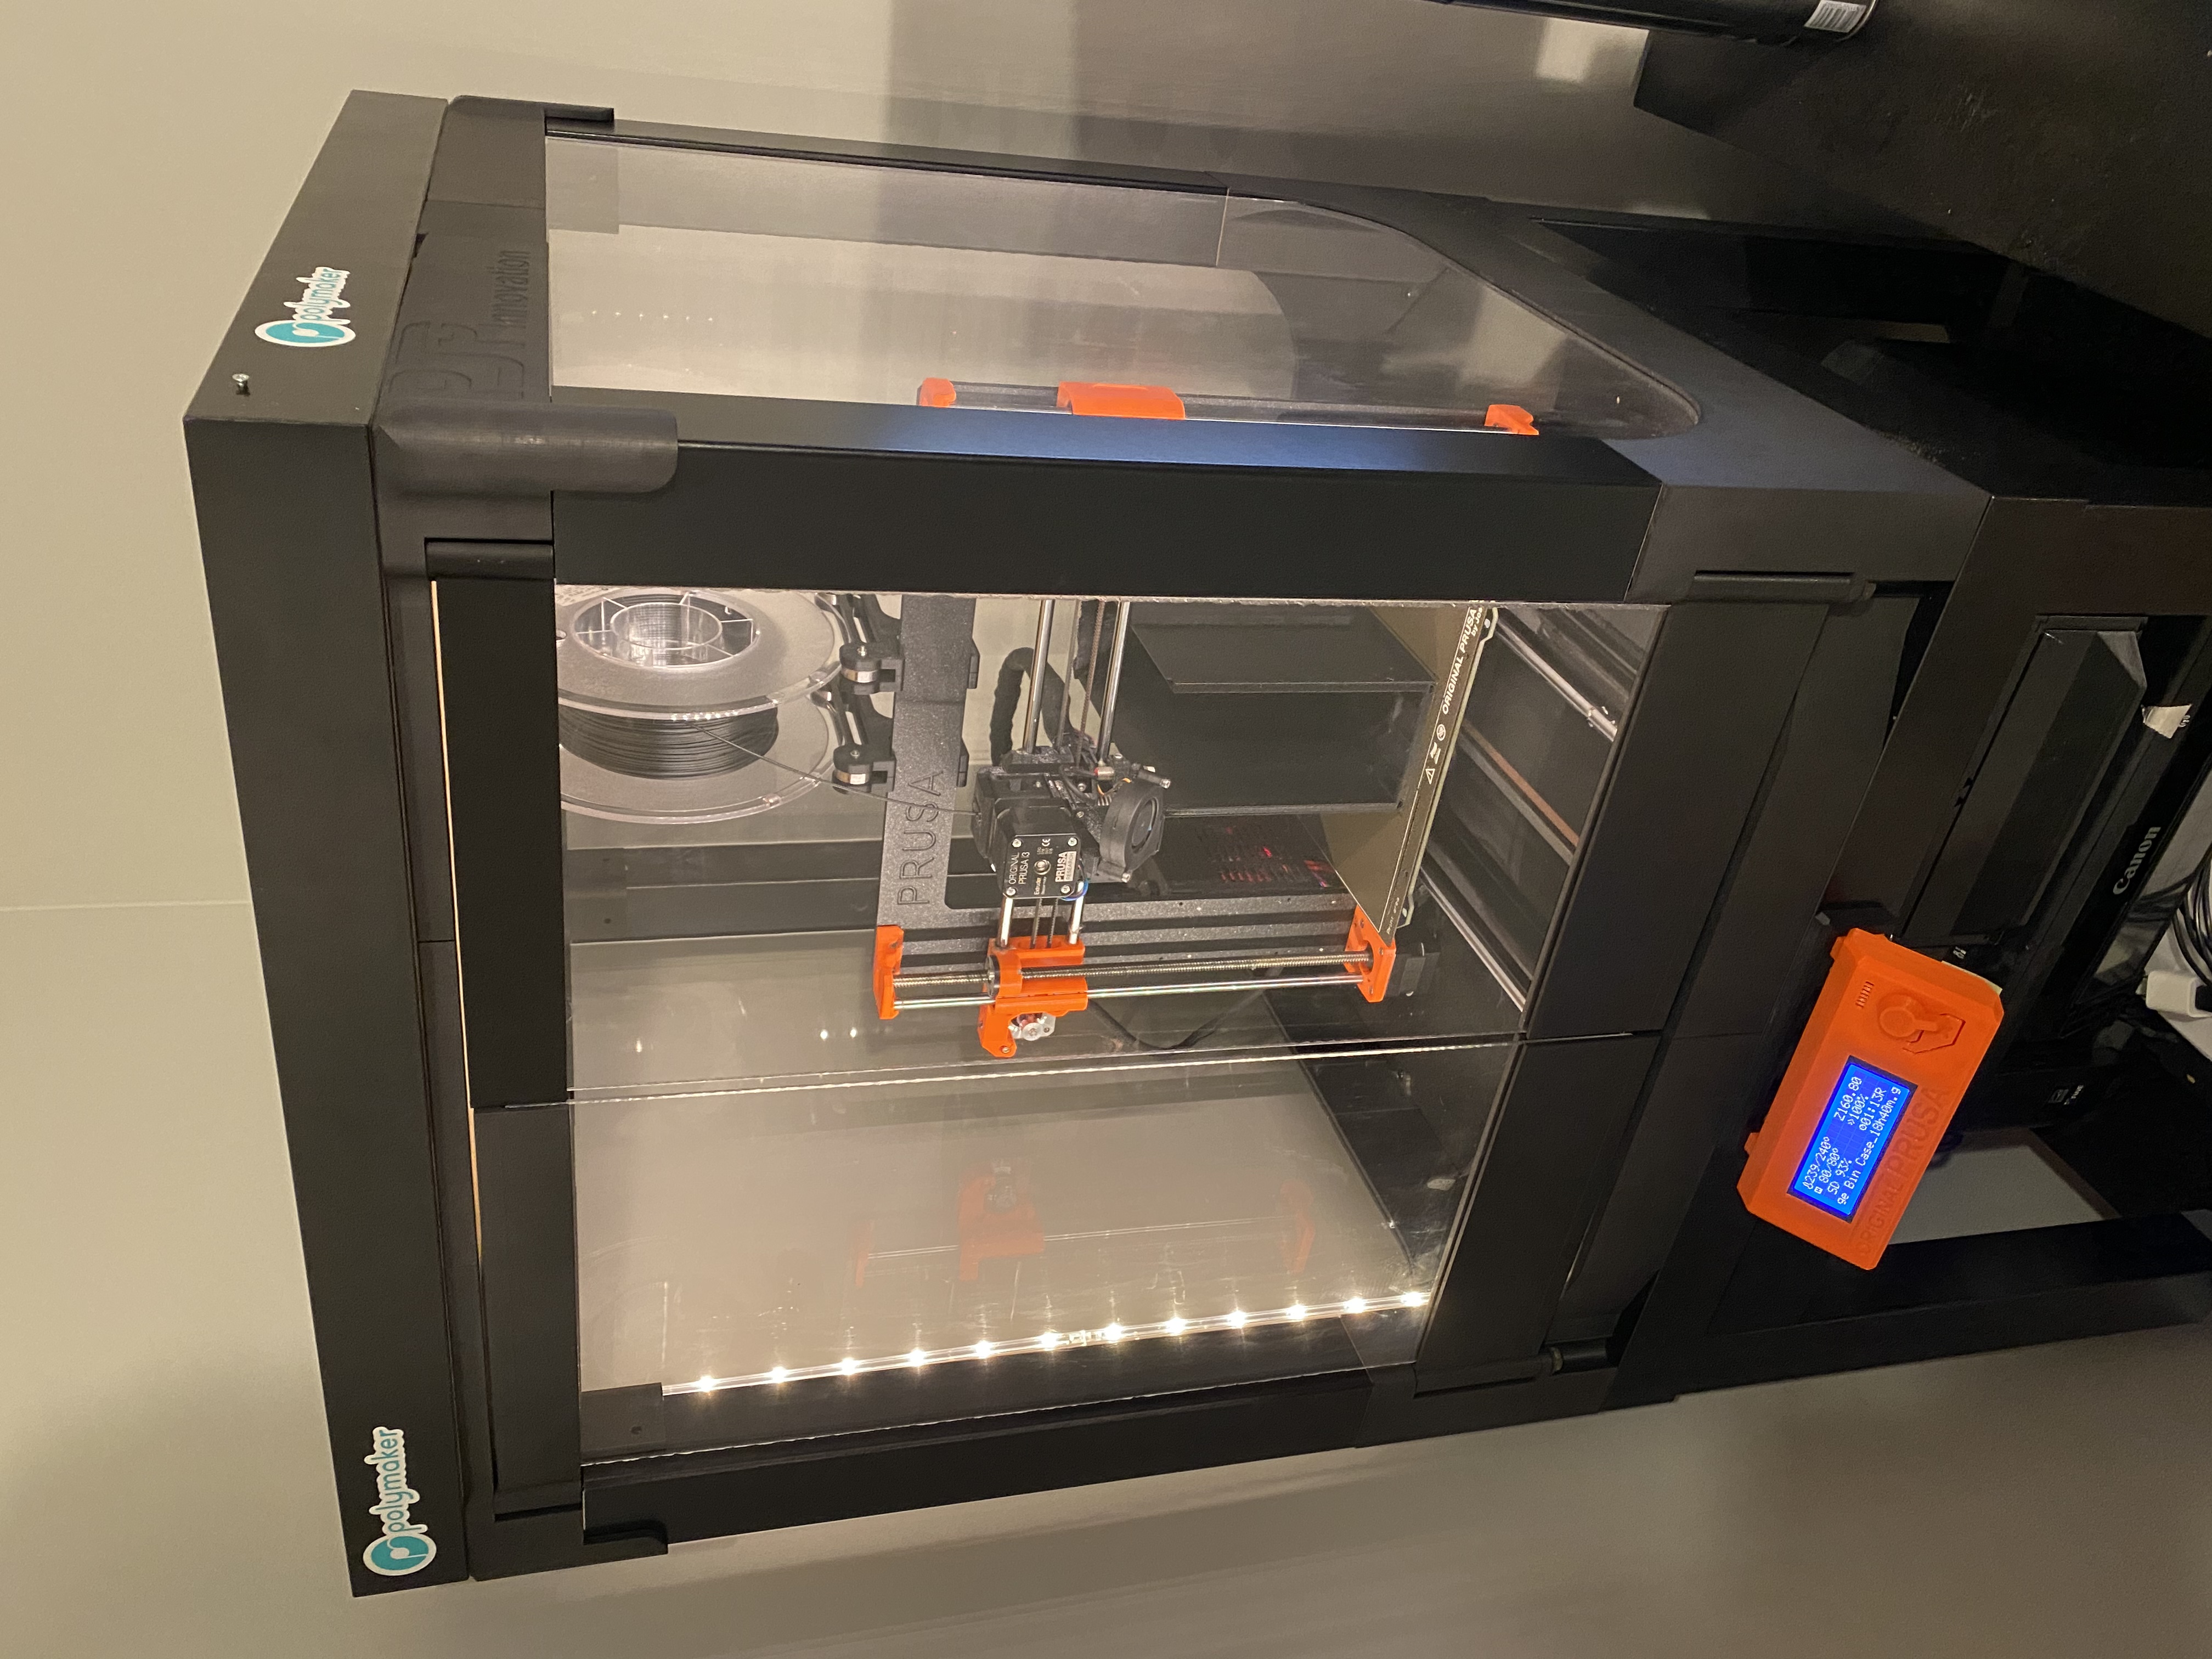
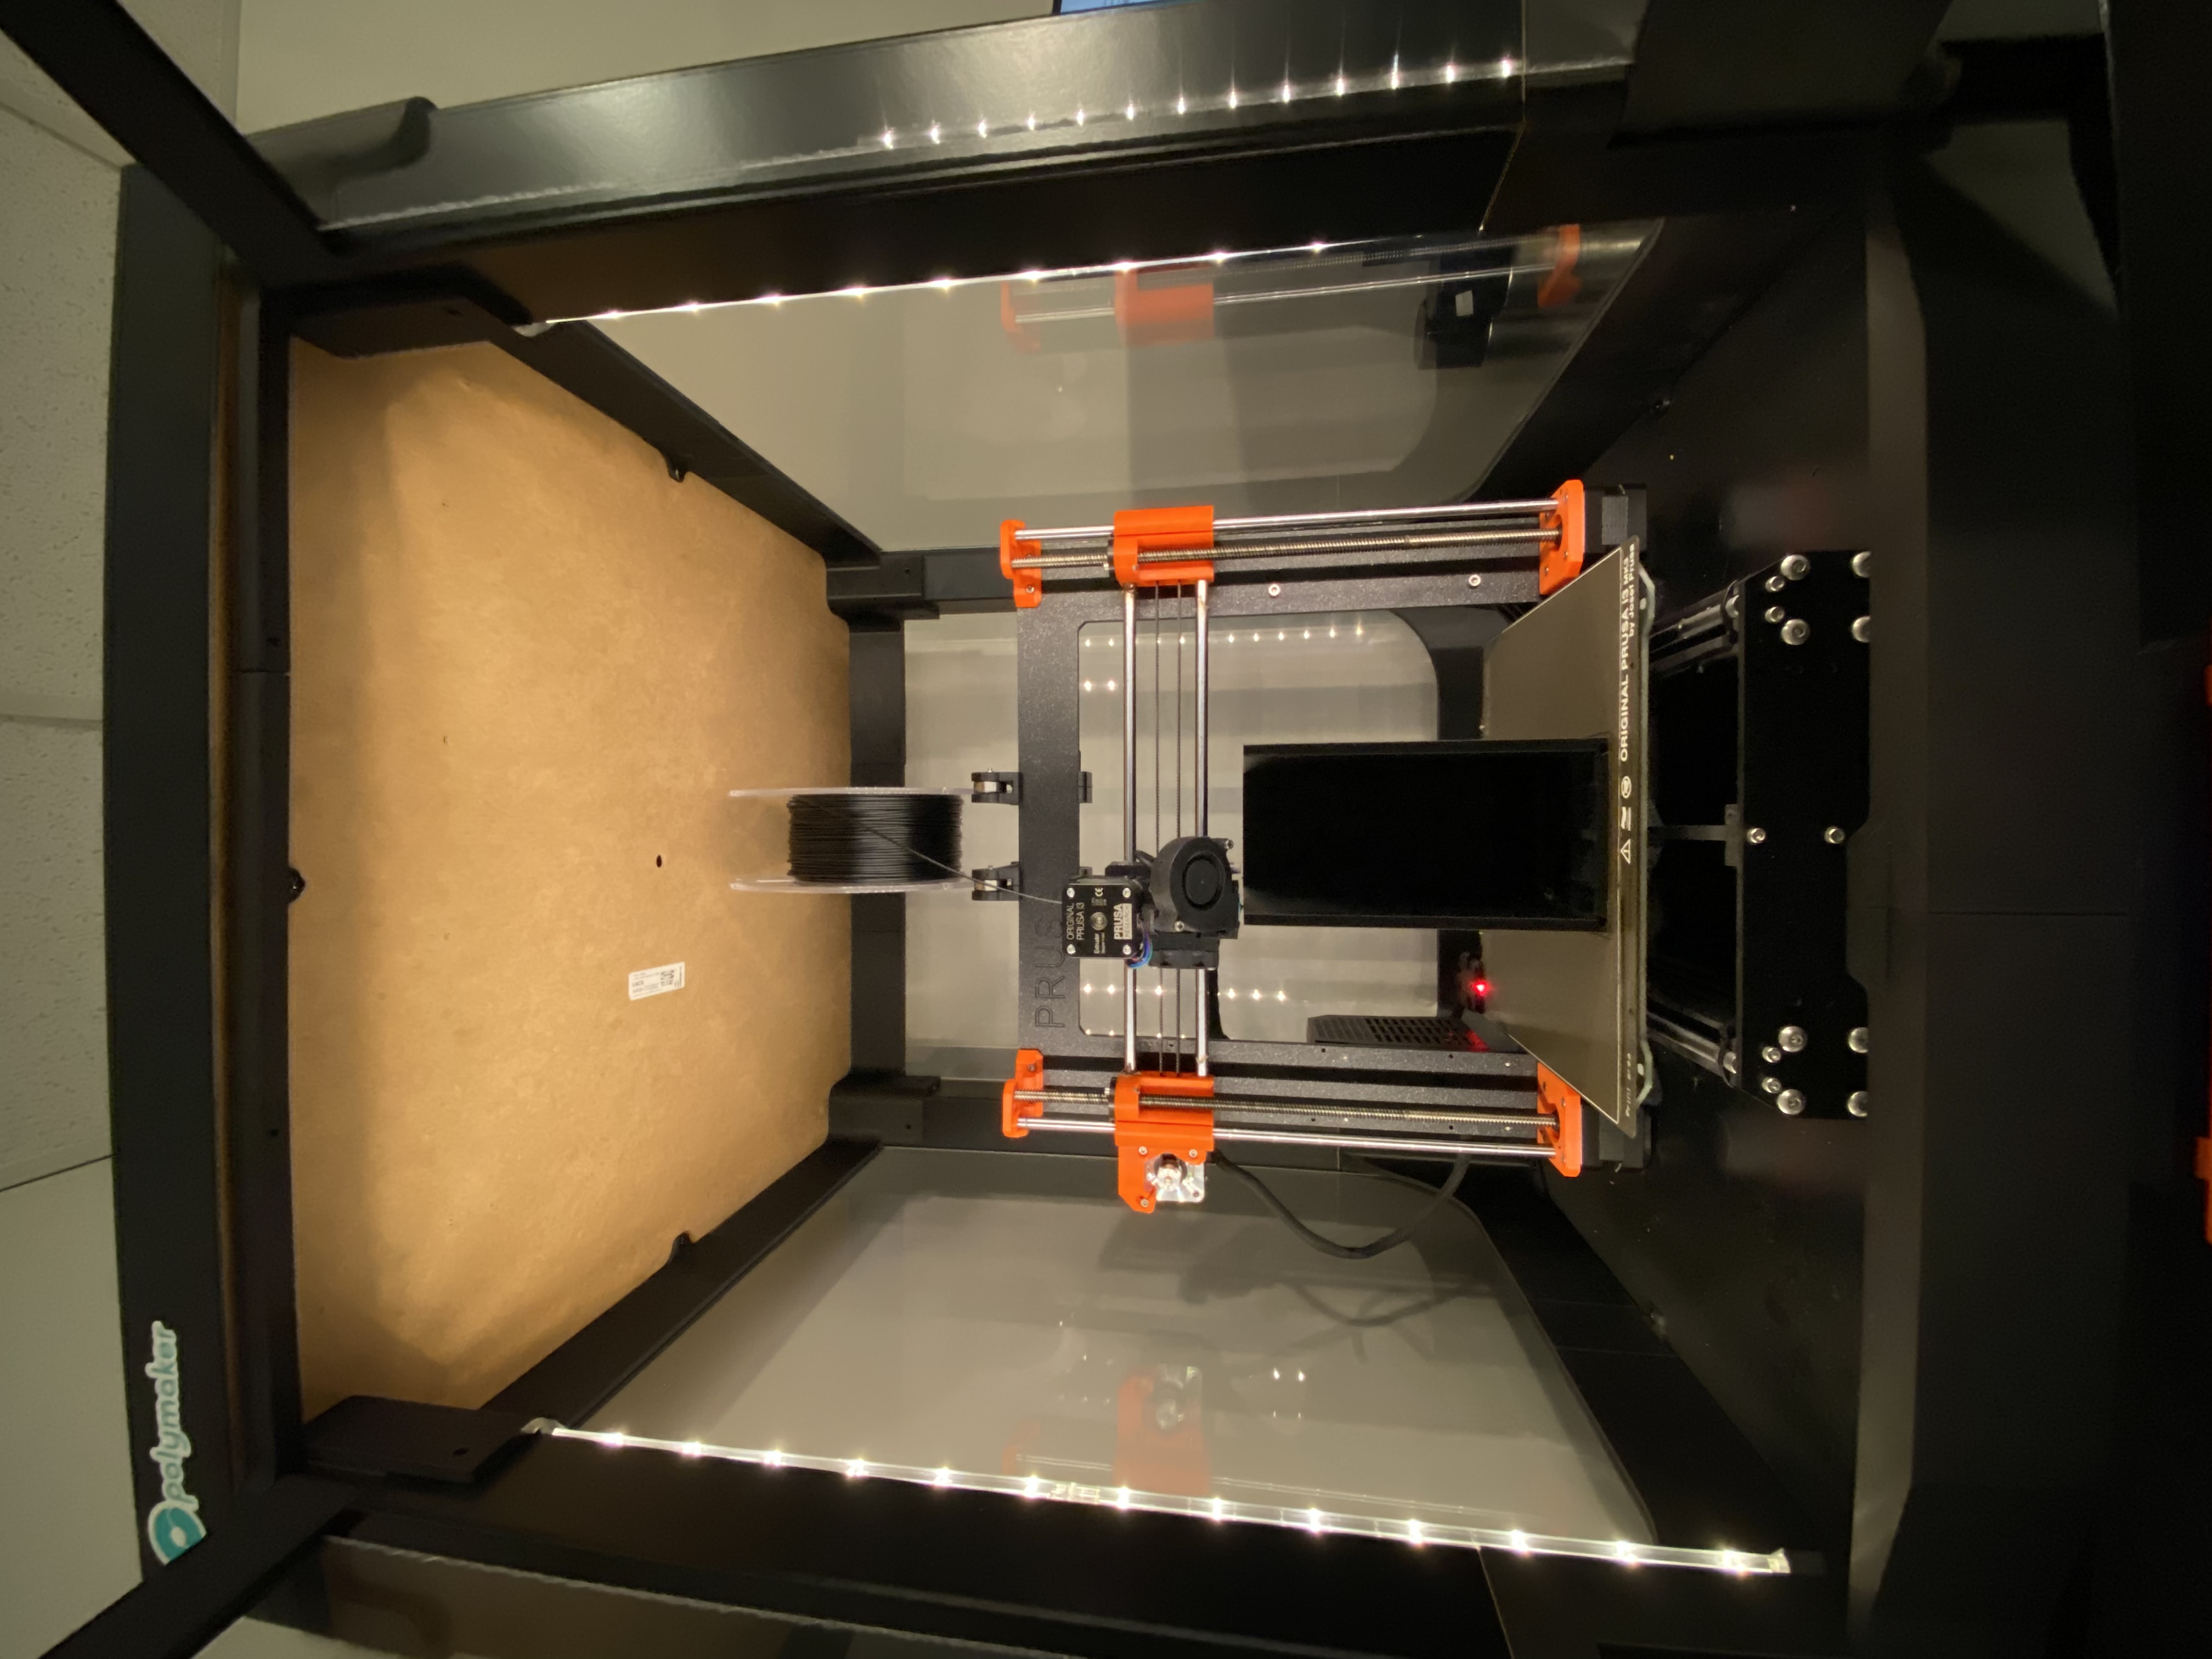
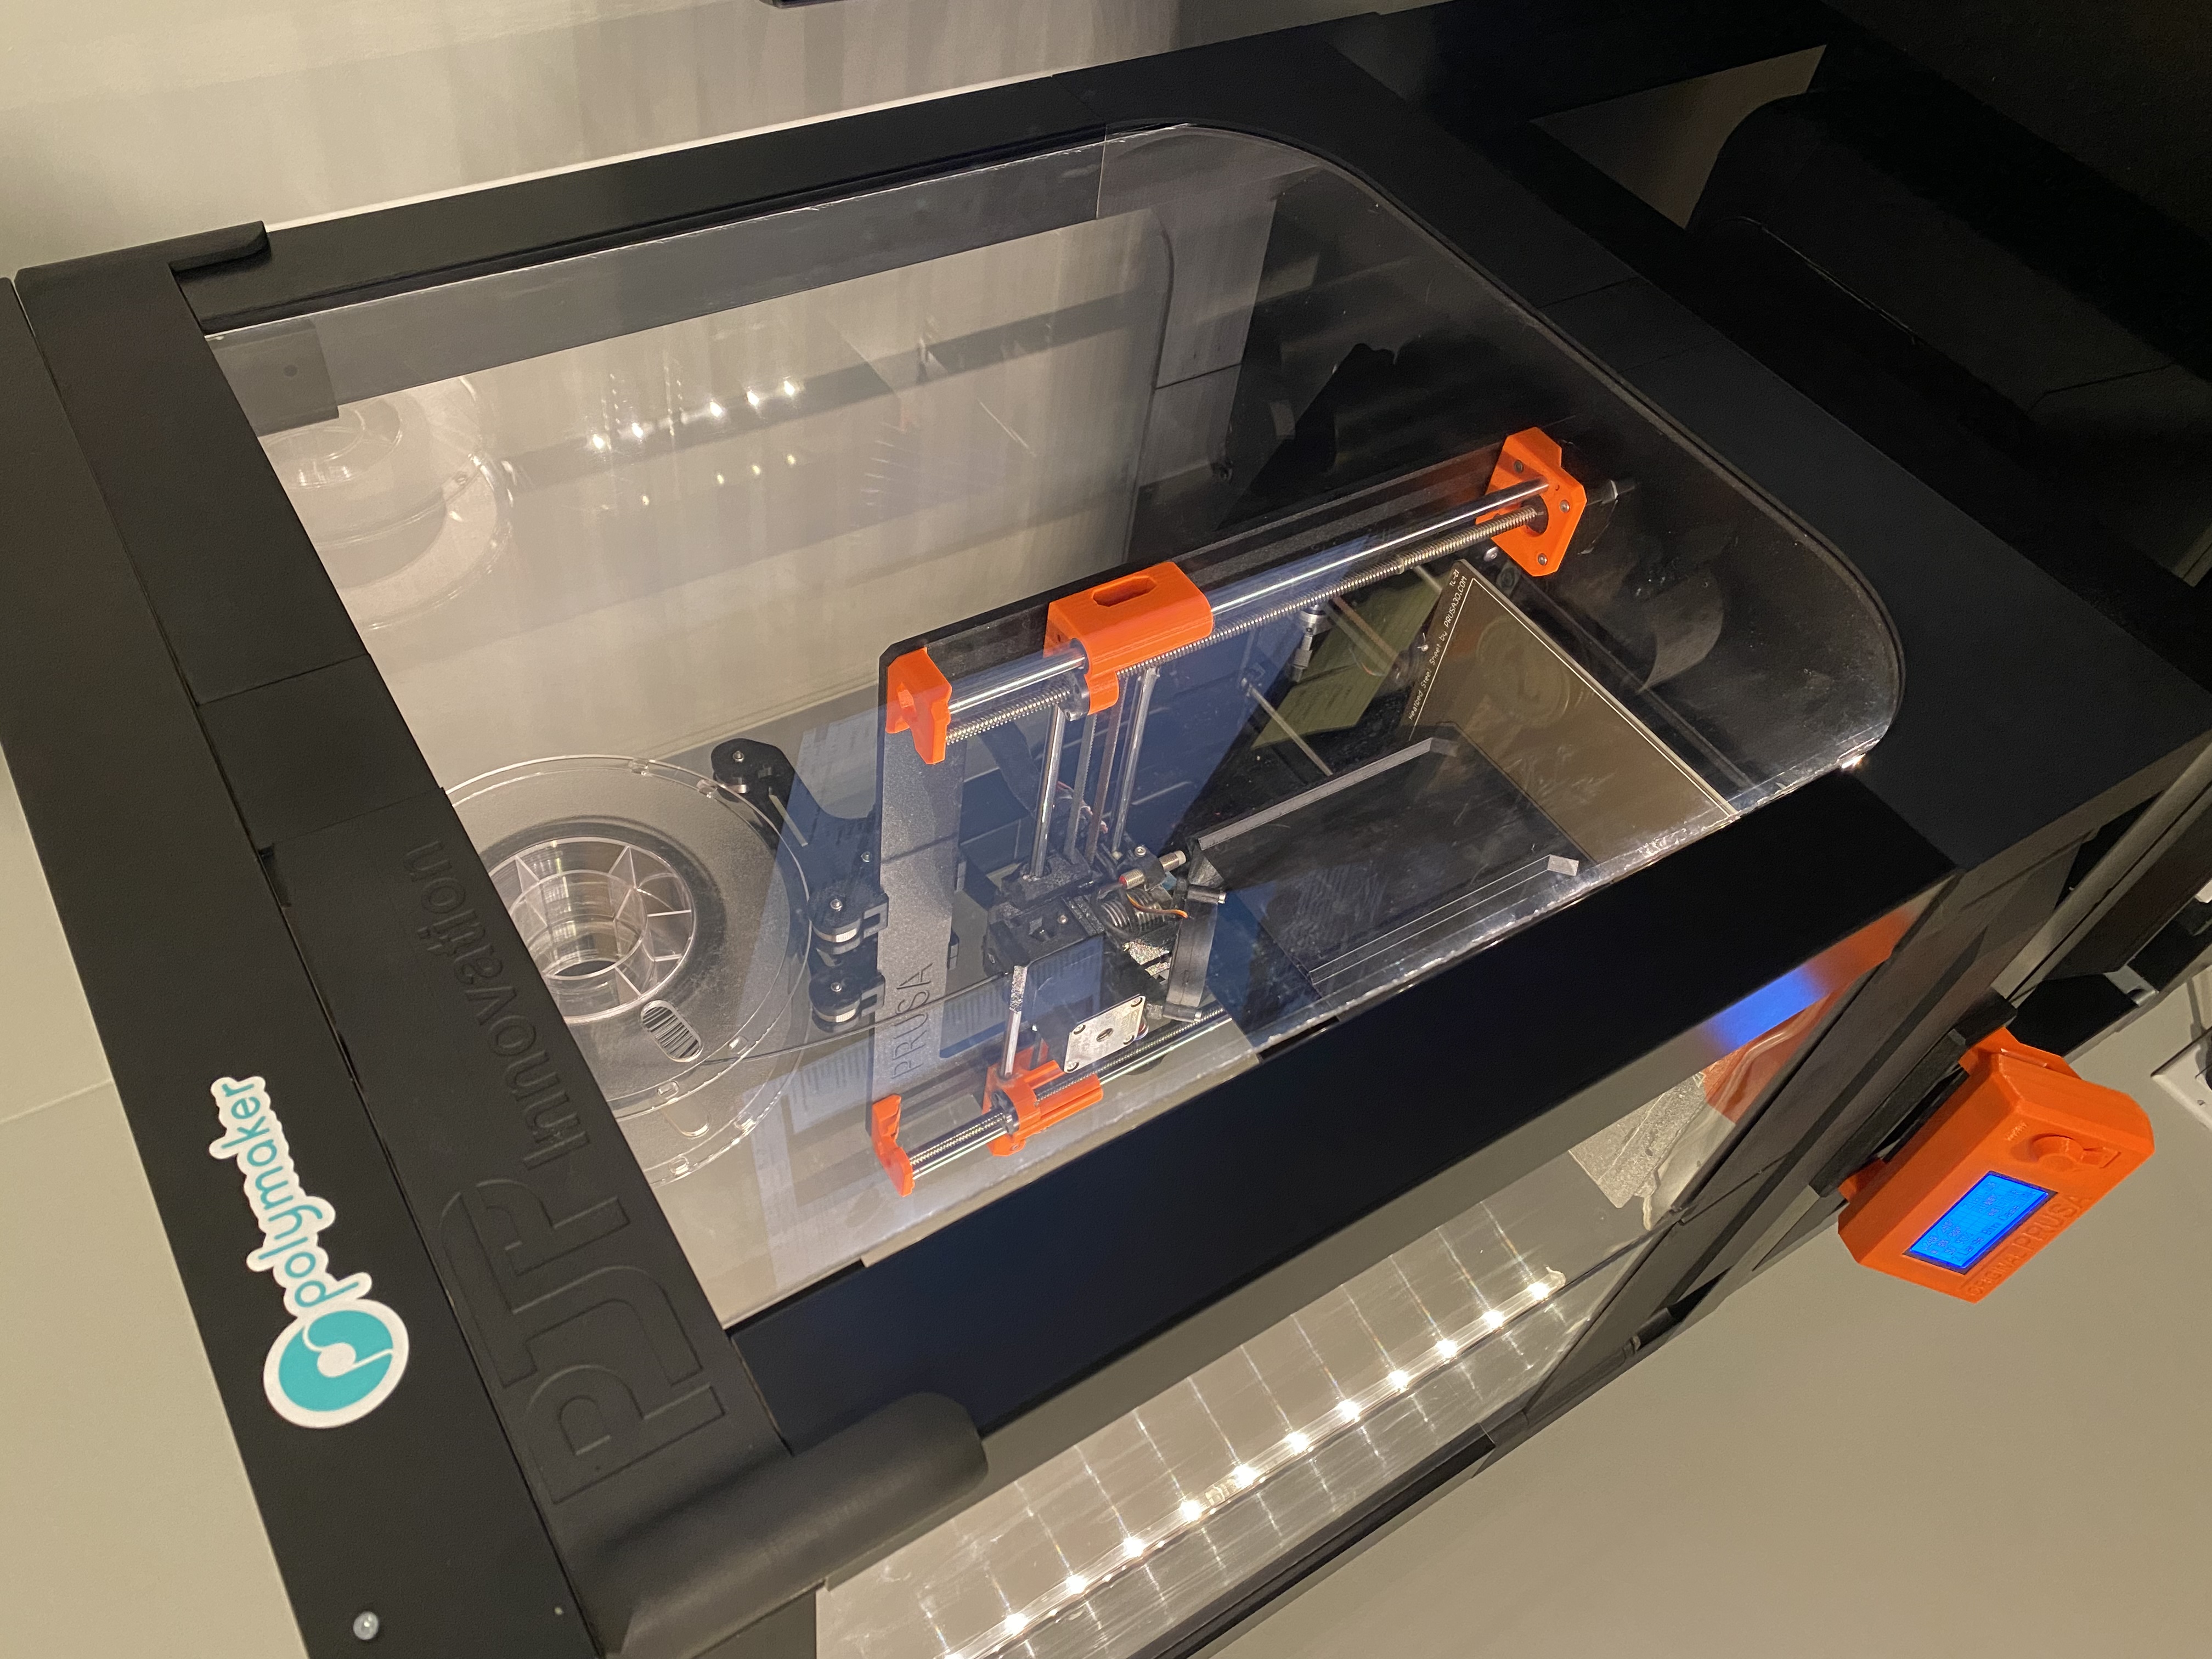
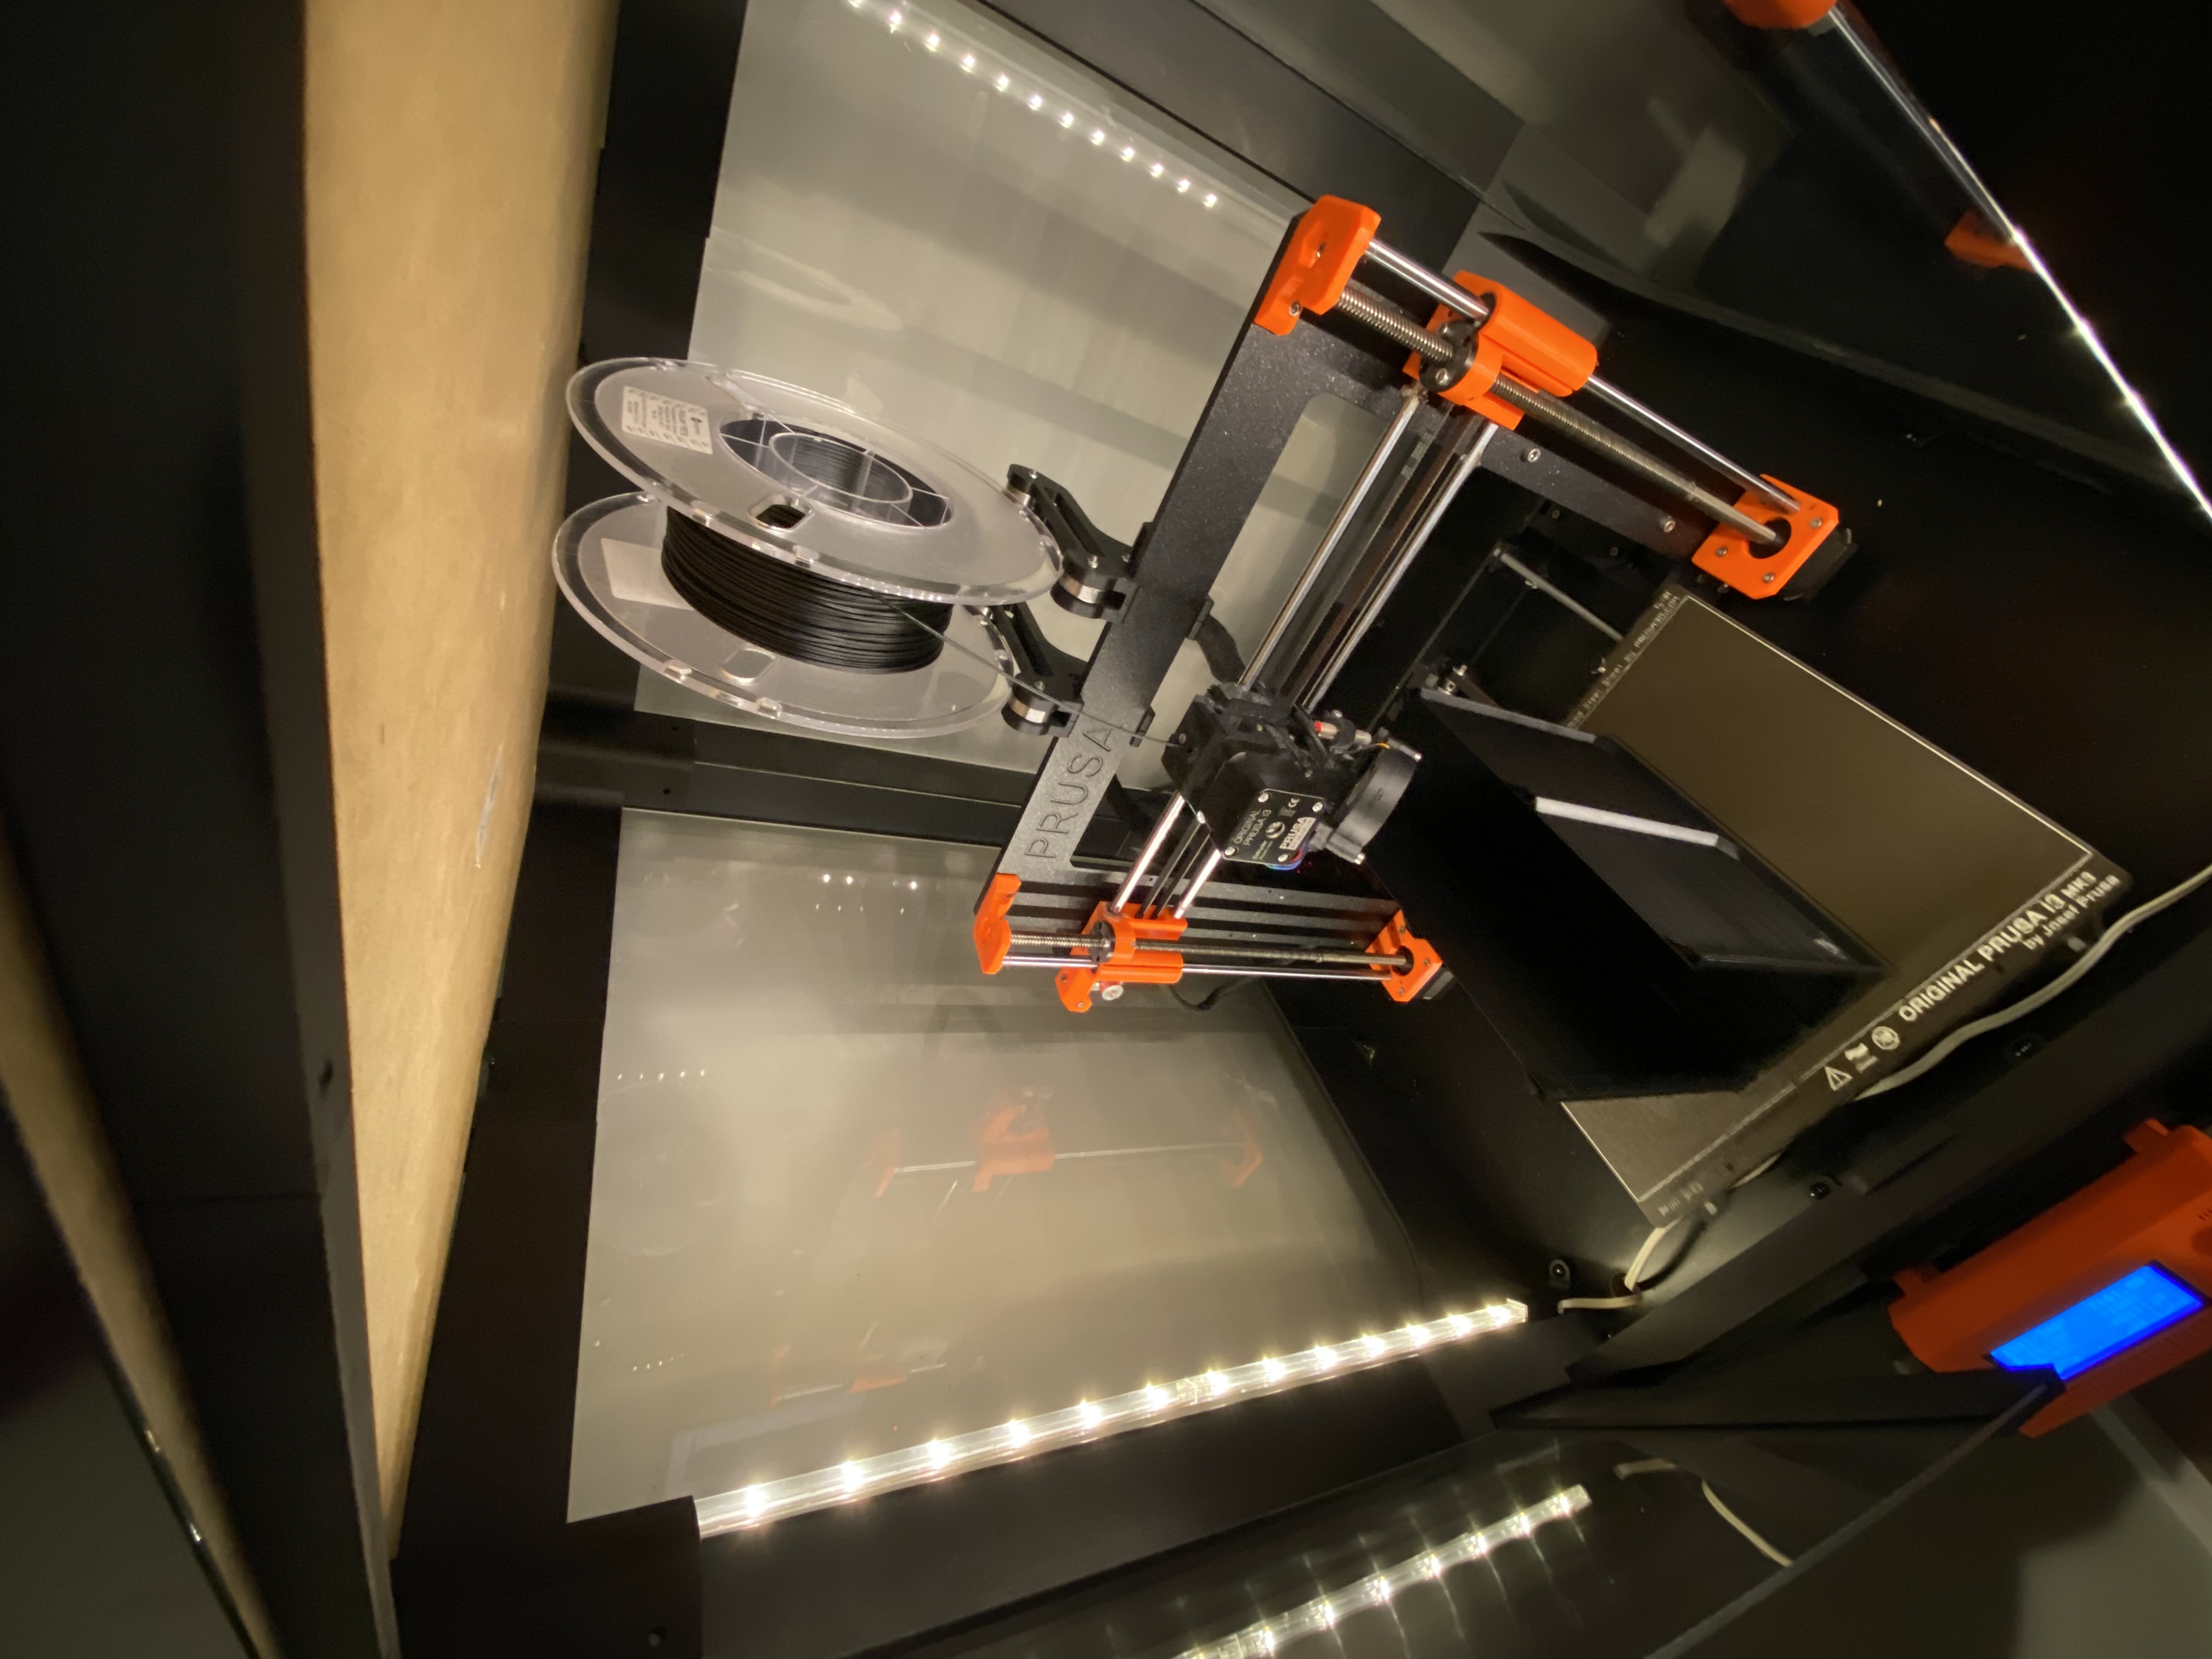
I started with the old original lack enclosure 3 years ago, but I never liked the cheap door hinges. I wanted something with better doors and wanted to be able to put filament spool inside the enclosure to have better humidity control. The enclosure in the in the pictures use 440x510mm and 220x510 acrylic/plexi 3mm thick panel and give you 605mm of inside height. A version to reuse your original enclosure panels (220x440mm and 440x440mm) have been made, see bottoms files with 440 in title. I also reused the original enclosure LCD relocation and PSU relocation. I used this spool holder: https://www.printables.com/fr/model/162789-spool-holder-elephant-for-mk3s Drawer is from: https://www.printables.com/fr/model/231288-gen2-modular-lack-enclosure-drawers Power bar is from: https://www.amazon.com/Outlet-Fararaka-Approved-Extension-Protector/dp/B0B1PZ2WL7/ref=sr_1_4?keywords=Fararaka&qid=1675451176&sr=8-4 You can adapt any king of led to it. I adapted my old ikea led bars. Files list you'll need to print: Top: Base: I printed everything in PLA, using 0.2mm layer height and 10% infill. Hinges shafts can be made with higher infill of 25-40%. You can make local infill of 25-40% on the top corner hinge shaft too. Hardware: #12 flat wood screw to attach the base parts to the table legs (used the same as original Prusa) #8 round head wood screw to attach base and top parts to table deck (I used black head ones to be more subtle) Assemble instructions: Assemble the base_hinges in the base_corners using the shaft_hinge ; Screw the 4 base_corner to the table legs using #12 wood screw ; Screw every base parts on the Lack base deck using #8 wood screw ; Put the lexan/acrylic panel all around. Be gentle with the door pannel to not break the hinge ; Insert top hinge on top of the doors lexan. Be gentle as the top hinge dont hold anything yet ; Screw every top_corner in the Lack original big screws ; Screw all the spacer between the corners using #8 wood screw ; Insert the top assemble in the leg. Take your time to align every part and lexan where they are supposed to go. You can screw the top corners in the leg, but everything hold tight without screw there.
Tags: ikea, led, enclosure, lack, abs, modification, resin print, nz made, made to order
Design credit: Original design by pjp_innovation - licensed under CC-BY.
View original model + STL files on Printables ↗
View original model + STL files on Printables ↗
Frequently asked
How long does shipping take?
Ikea Lack Enclosure is printed to order. Lead time is typically 1-3 business days plus 1-4 days NZ shipping. Standard NZ shipping is $10, free over $75.
What material is this printed in?
By default this is printed in PLA (filament) at 0.025 mm layer height on an MSLA resin printer. Custom material and colour swaps are available, just leave a note at checkout.
Can I get this in a different colour?
Yes. Every product can be printed in any of the resin colours we stock, or hand-painted on request. Leave a note at checkout or email hello@3dprintworld.co.nz.
Do you ship outside of New Zealand?
Currently New Zealand only. Australian shipping is coming.
Who designed this?
Designed by an independent sculptor and licensed for commercial printing. The original is linked on this page.