Kids Toys
Gridfinity Rugged Storage Box, Parametric and Customizable
SKU 3DPW-pr-757297
$117.00NZD
In stock · Made-to-order resin · Ships from Auckland · Free shipping over $75
- Material
- High-Detail Resin (8K)
- Colour
- Grey
- Weight
- ~40 g
- Print time
- ~4.5 h
- Shipping
- $10 std · $20 express
- Lead time
- 1-3 d print + 1-4 d ship
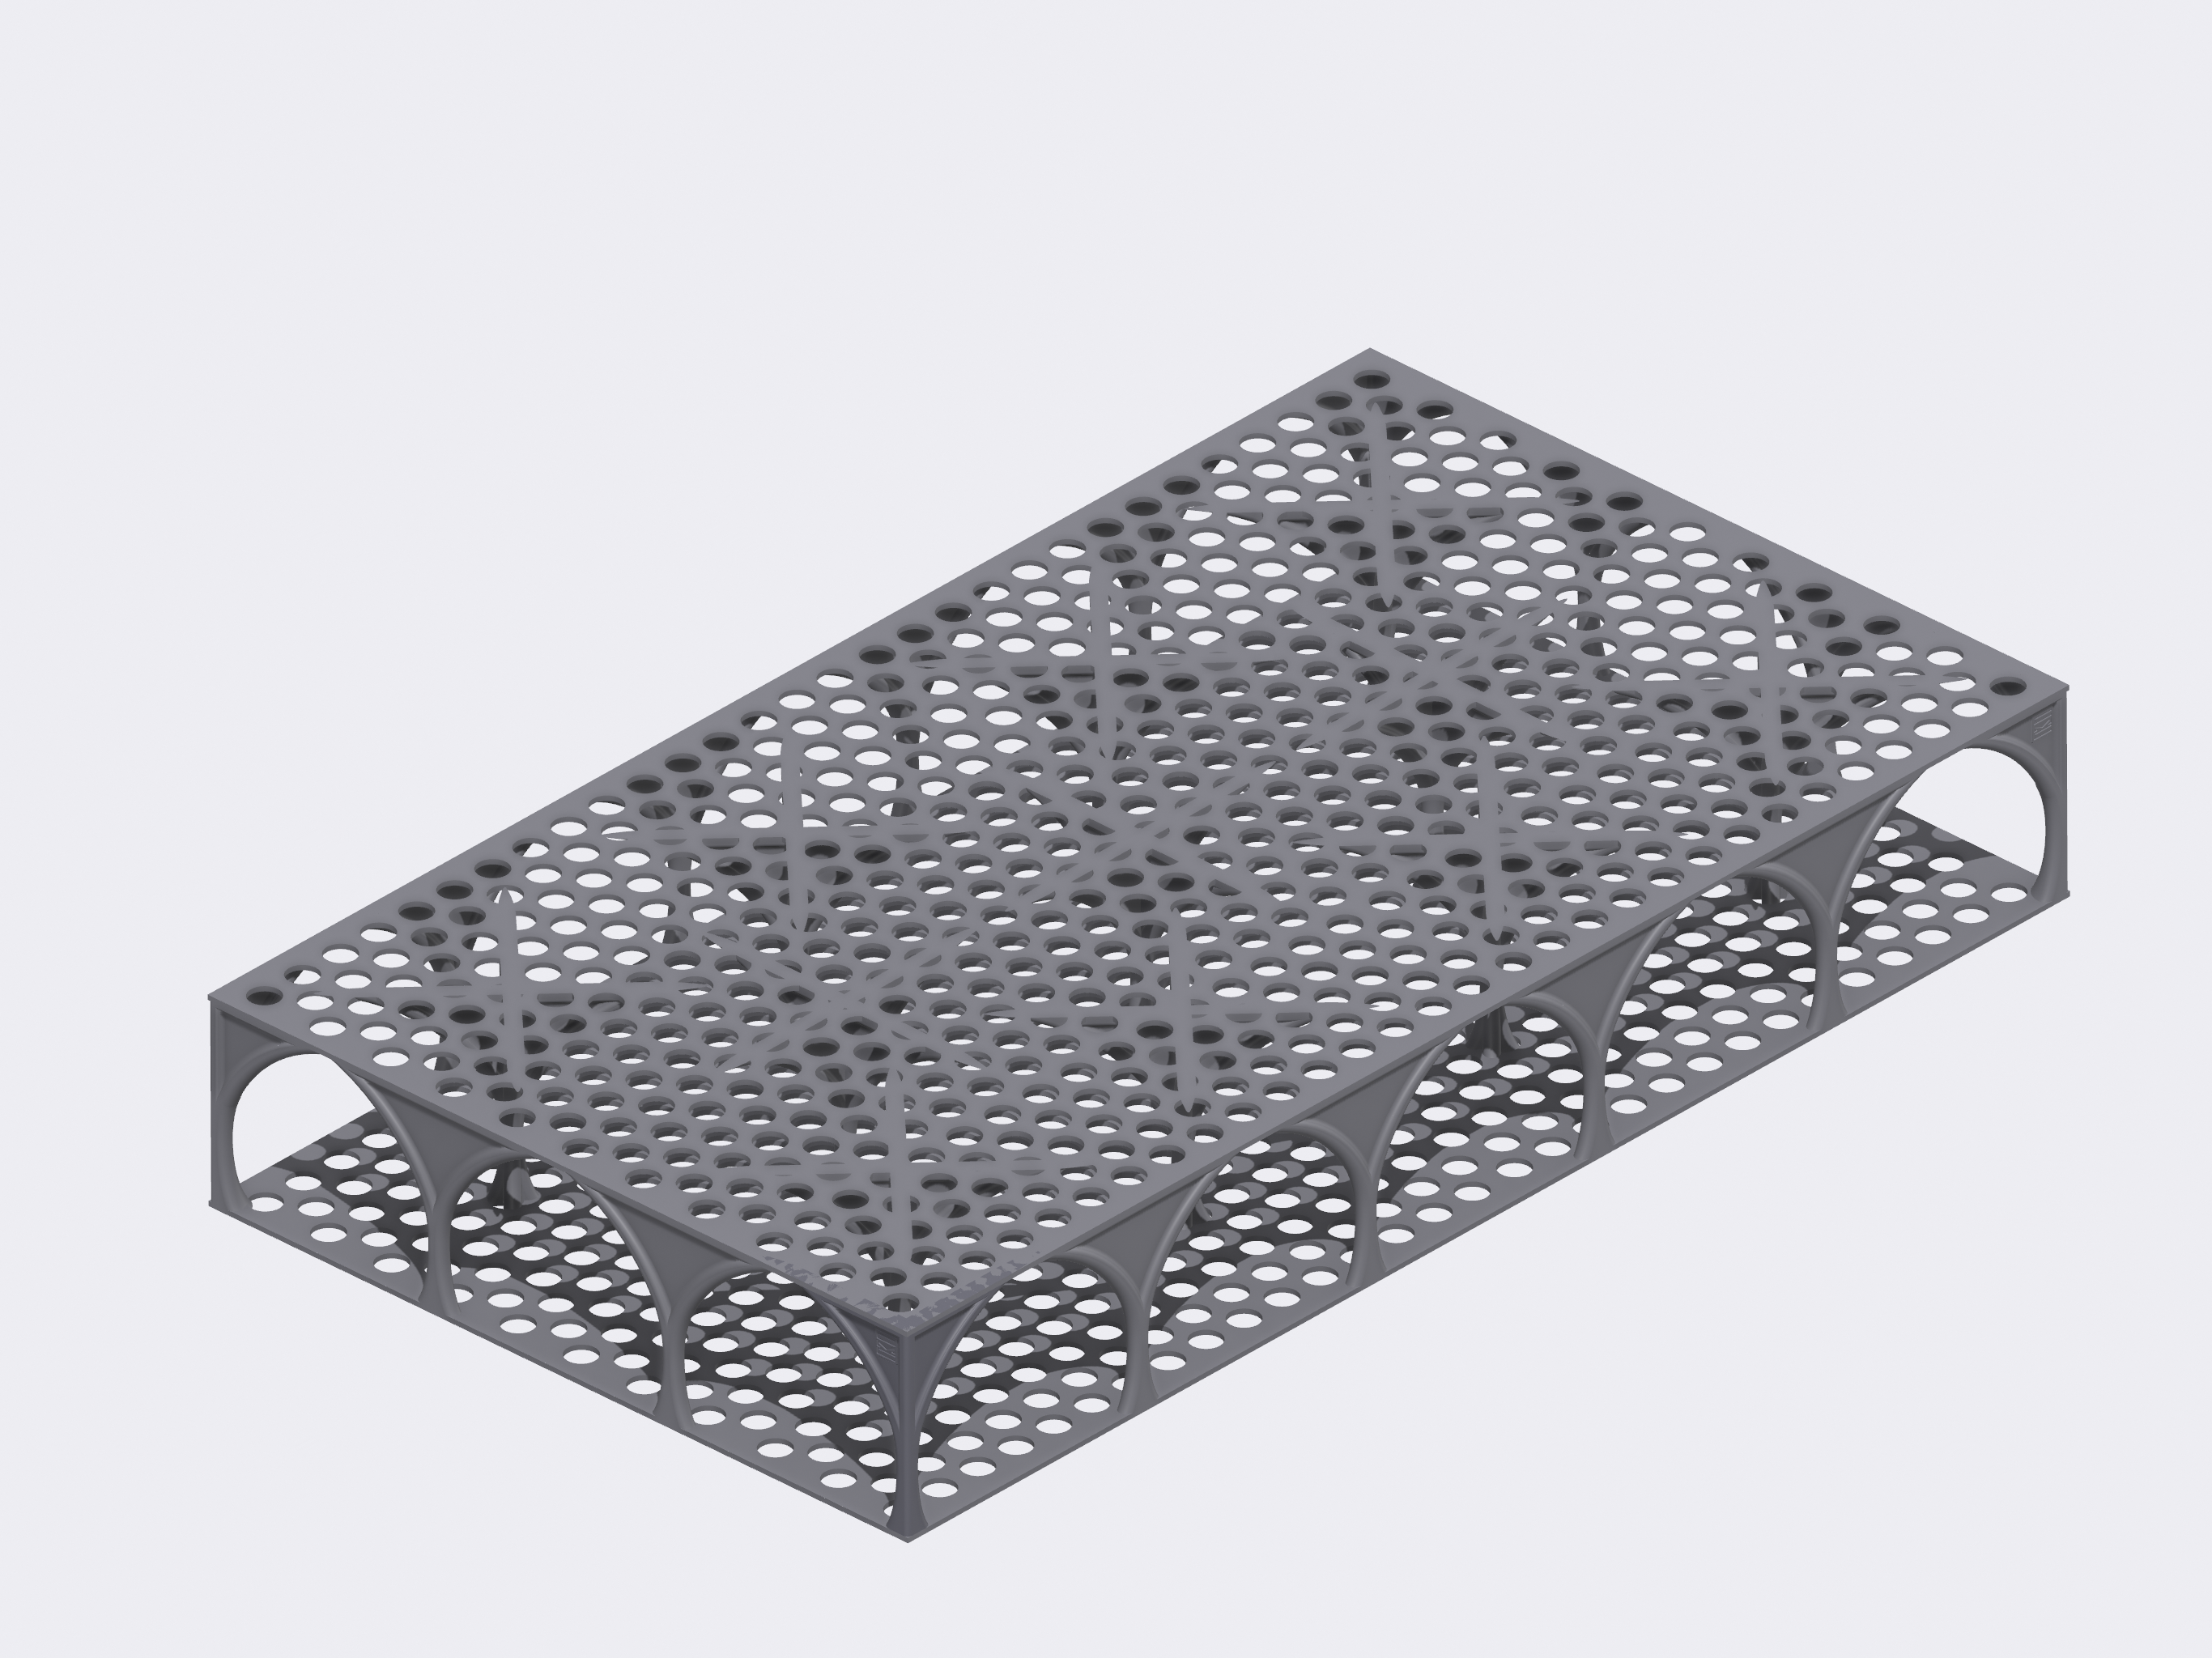
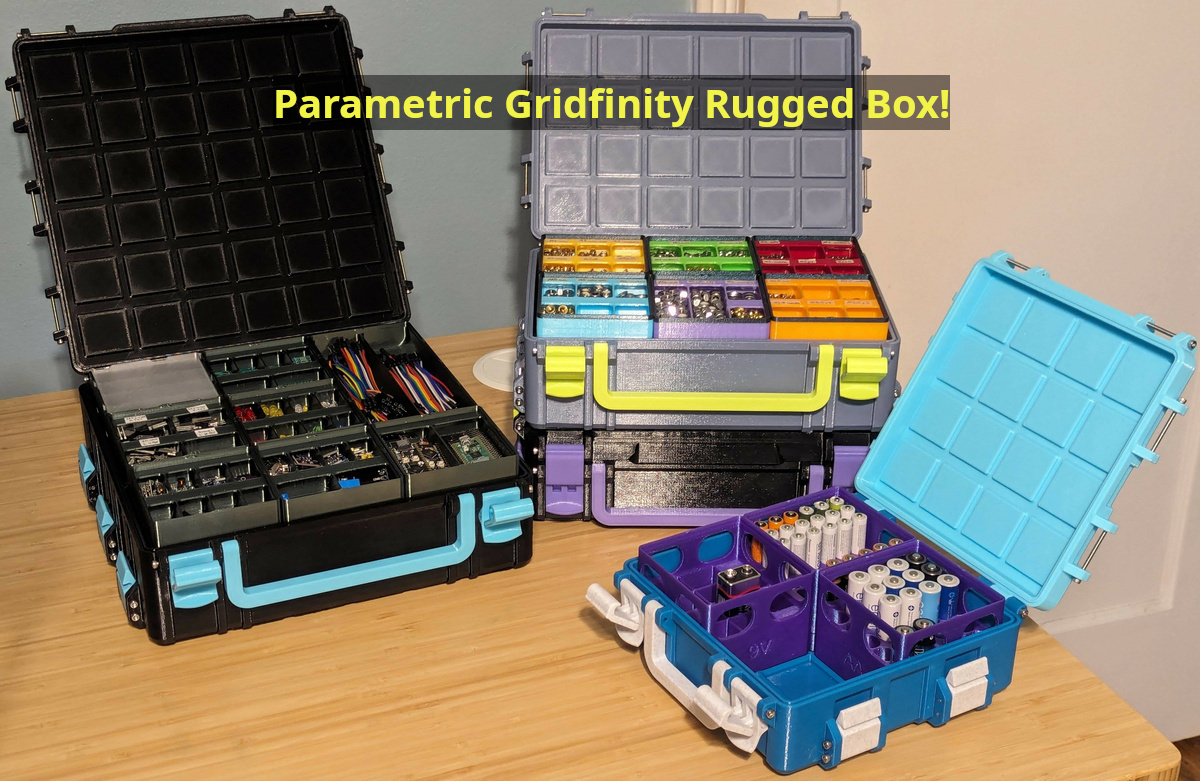
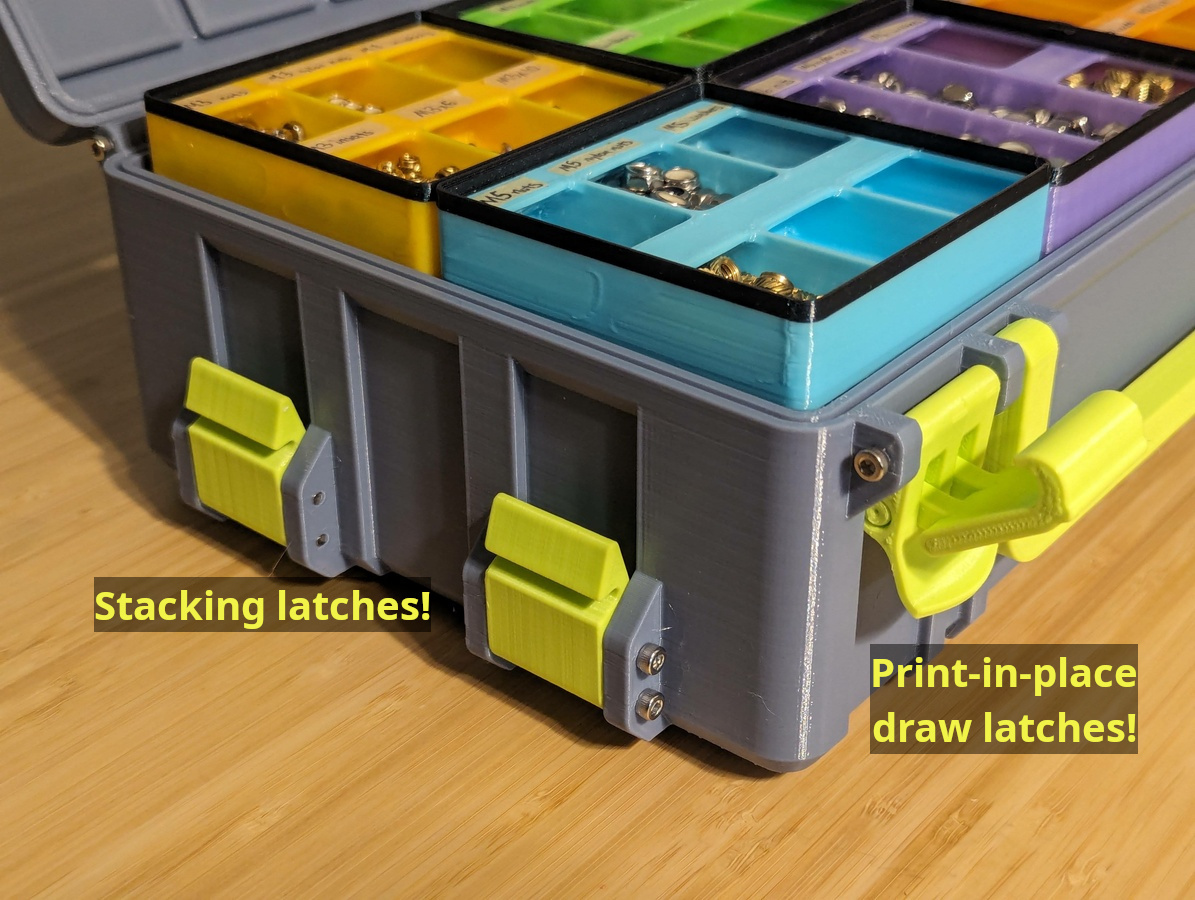
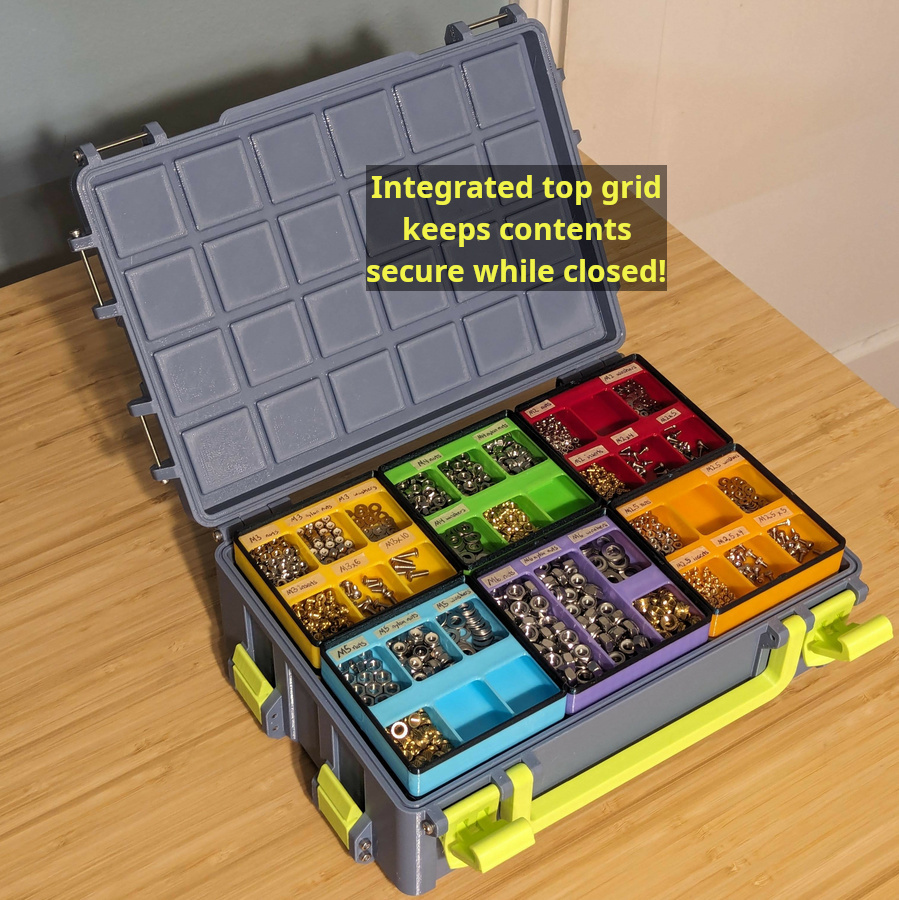
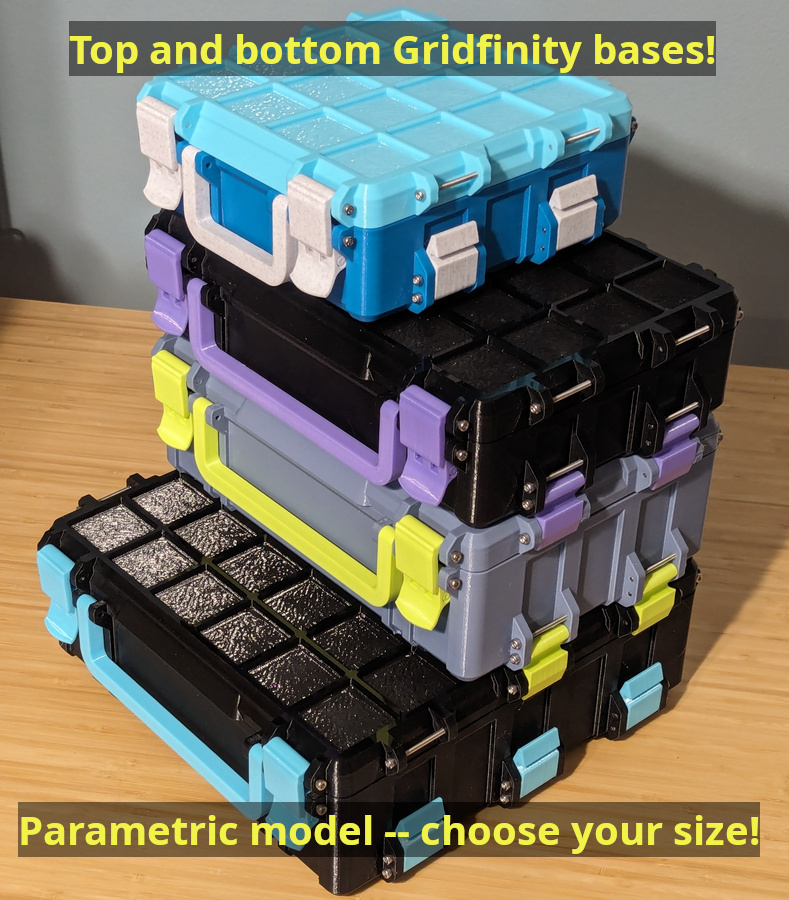
Update March 30, 2024 -- more sizes uploaded. On request, I've uploaded more pre-rendered 4x4 and 6x4 box model files. There are no changes to the source model or any of the existing model files. Enjoy! DescriptionMy Rugged Storage Box, now for Gridfinity bins! Inspired by several other terrific Gridfinity box models, I built a Gridfinity rugged box model of my own! This is a parametric model which can create boxes of any size. I chose OpenSCAD so the software and model would be fully open source. FeaturesGridfinity: Configurable sizing in Gridfinity grid unitsOptional exterior stacking grid on top/bottom of boxBox options: Choice of latch style (clip or draw)Side stacking latchesOptional handleOptional label (new! on February 12, 2024)Top opening grip and hinge end stopsLip seal, integrated or for 1.75mm filamentReinforced (thicker) cornersOptional third hinge for large boxes Hardware and ToolsThe hinges and latches are attached using M3 screws, M3x40 by default. Depending on whether a handle or stacking latches are desired, a box may take between 6 and 25 screws to assemble. My boxes are assembled using M3x40 and M3x55 hex socket head cap screws (DIN 912): M3x40 (AliExpress 1, AliExpress 2, Amazon, Trimcraft Aviation RC)M3x55 (AliExpress, Amazon) -- if attaching the optional handleTo assemble boxes with three stacking latches per side and/or a third hinge, a hex allen key matching your screws is needed since a drill/driver won't fit. M3 hex socket head cap screws use 2.5mm drive, so a ~6" 2.5mm hex allen key is needed for these (Home Depot, Amazon). Screw length formulaAll screws except for boxes with handles: Latch Width (default 28mm) + 2 x Rib Width (default 6mm). At default values, 28 + 2 * 6 = 40, or M3x40 screws.To use M3x30 screws, set Latch Width to 22 and Rib Width to 4.For boxes with handles, replace two of the above screws with: Latch Width (default 28mm) + 3 x Rib Width (default 6mm) + handle thickness (10mm). At default values, 28 + 3 * 6 + 10 = 56, or about M3x55 screws. Rendering OpenSCAD version and configurationTwo OpenSCAD options are available which greatly improve rendering speed, but are currently only in the development snapshots. You can download a development snapshot from the OpenSCAD downloads page (scroll down about half way). After installation, open Edit > Preferences, and in Features, enable: fast-csgfast-csg-safermanifold Model setupThe OpenSCAD model depends on included third-party library code. Download and unzip libraries.zip into the same folder as rugged-box-gridfinity.scad and rugged-box-library.scad. Model renderingEnsure both rugged-box-gridfinity.scad and rugged-box-library.scad are placed in the same directory. Open rugged-box-gridfinity.scad in OpenSCAD. Select your desired dimensions and options in the OpenSCAD Customizer. Then, one at a time, select each part (top, bottom, latch, stacking latch, handle) in the Part drop-down. For each part, perform a render (F6) and export to STL (F7). Recommended model configurationtl;dr: Box parts with different Gridfinity Stackable settings are not compatible. Print all your box parts with this value enabled or disabled, not a mix of both.Set Top Height to 2Set Bottom Height to 4, 7, or 10 for a 6, 9, or 12 Gridfinity unit tall box, respectivelyTo use stacking latches, boxes must have the same Width and a multiple of 2 for LengthUse draw latches for boxes 9 or more units tall, or clip latches for shorter boxesBoxes with the Gridfinity Stackable option modify the placement of the internal Gridfinity baseplate and top bases to accomodate the exterior stacking base and baseplate. Therefore both the top and bottom of the box must be printed with the same value for this option; do not mix and match. Additionally, stacking latches will not reach the correct height between the two types of boxes. I recommend keeping most of the box height in the bottom, so Gridfinity bins will be more contained in the box when the lid is open. I render my box tops with Top Height set to 2 (7mm Gridfinity units). Most of my Gridfinity bins are multiples of 3 units high (e.g. 3 or 6). I therefore like to print boxes that are multiples of 3 units high. For a total box height at a multiple of 3, I set Bottom Height to the desired box height minus my Top Height of 2. For example, to make a box that is 9 total Gridfinity units tall, I set Top Height to 2 and Bottom Height to 7. If using the stacking latches feature, boxes will stack if they are the same Width (left to right) and have stacking latch attachments at consistent lengths on the side. To produce boxes with consistent attachment points, set Length (front to back) to a multiple of 2 Gridfinity units. For example, a 6 unit wide and 4 unit long box can use stacking latches with another box of the same size, or with a 6 unit wide and 6 unit long box. Front latches: I prefer draw latches but they are taller, so clip latches are also available. I recommend using draw latches for boxes with a total height of 9 Gridfinity units or more. Smaller boxes should use clip latches. Larger boxes use more filament, but result in more storage space per amount of filament and time spent to print. Printing Printer preparationThese boxes are (usually) large prints. Clean your print bed and ensure it is reasonably level. General print settingsThe following instructions are for slicing with PrusaSlicer. My boxes are printed in PETG at 0.24mm layer height, with 2 perimeters and 20% adaptive cubic infill. I printed my latches and handle at 0.2mm layer height, with 3 perimeters and 30% adaptive cubic infill. Print the box top and bottom parts on their outer faces. Latches print on their side. For the latches, a brim may be helpful for bed adhesion. For boxes without exterior Gridfinity stacking (Gridfinity Stackable model option), the box tops and bottoms print without supports. For boxes with exterior Gridfinity stacking, see "Additional print settings for Gridfinity Stackable boxes" below. Reinforcing the box attachment ribsPrusaSlicer can configure this model to use a higher infill on specific parts, such as the attachment ribs (where screws are installed). The model includes optional modifier volumes to make this simple. To render a modifier volume in the OpenSCAD model, open and configure the box model the same as the box model you'd like to print. Then, in the Part drop-down, select and render each of: Top print modifier volume for attachment ribsBottom print modifier volume for attachment ribsThis will produce a model that is just the attachment ribs without the box body. Render and export each of these models. In PrusaSlicer, load the box model to print. Then, in the Plater view, right-click on the box model to open the context menu. Select Add Modifier -> Load..., and then select the modifier volume for the matching part (bottom/top). The modifier volume should perfectly overlap with the existing model. Finally, locate the added modifier volume model in the right sidebar next to the Plater view. Right-click on the modifier volume, and select Infill to override the infill settings for that volume. Then, enter your desired infill percentage for the ribs (e.g. 100%). Now the model is configured to slice the ribs with 100% infill! Additional print settings for Gridfinity Stackable boxesBoxes with the Gridfinity Stackable model option require supports and additional settings to print for both the box top and bottom. Box topThe box top prints upside down. Supports are needed for each grid of the integrated Gridfinity baseplate. OpenSCAD may render the exterior stacking grid on the box top with some errant zero-thickness polygons that make manually painting supports difficult. (These don't affect the printed box.) With the support painting tool (hotkey L): Next to the Highlight overhang by angle value, click the edit button and enter 1.Click Enforce to automatically paint supports.This method paints the integrated Gridfinity baseplate, and additionally the very top overhang on all the screw holes with supports. The screw hole overhangs do not need supports, so these should be removed. With the support painting tool still selected: Uncheck Split triangles near the bottom of the paint settings. This will speed up the manual (un-)painting processShift+Left-click on each of the inner screw hole overhang polygons to remove the painted supports from the screw holesFinally, configure these print settings for the box top: Enable Support material > Generate support material (Enable supports)Disable Support material > Auto-generated supports (Add supports only to the painted areas)Set Support material > Style to Snug. Organic supports use more material and require longer to print.Set Support material > Pattern spacing to 5. This decreases the amount of support material used.Set Support material > XY separation between and object and its support to 4. This ensures a border between the support bases and gridfinity base square edges for easier support removal.Set Infill > Bridging angle to 135. This sets the first Gridfinity baseplate layer visible on the box top to print at an angle, for a better finished look. Avoid setting this to 45, as that causes the first and second model layers to be printed at the same angle which is undesirable. Box bottomThe box bottom prints upright. Supports are needed for the outer perimeter that overhangs the base Gridfinity grid. With the support painting tool (hotkey L): Uncheck Split triangles near the bottom of the paint settings. This will speed up the manual painting process.Set Brush size to a small value, such as 0.5. This will make the painting process easier.Rotate the model so the underside is visible.Left-click to paint supports on the outer perimeter that overhangs the base Gridfinity grid.Finally, configure these print settings for the box bottom: Enable Support material > Generate support material (Enable supports)Disable Support material > Auto-generated supports (Add supports only to the painted areas)Set Support material > Style to Snug. Organic supports use more material and require longer to print.Set Support material > Pattern angle to 45 (or 135). By default, snug supports print in straight horizontal lines which would result in very long single lines drawn around two of the box sides. Setting this to 45 or 135 causes the support pattern to be properly staggered around the entire box.Set Infill > Bridging angle to 135. This sets the first box body layer on the underside of the main box body to print at an angle, for a better finished look. Avoid setting this to 45, as that causes the first and parts of the second model layers to be printed at the same angle which is undesirable.If you are reconfiguring your slicer after preparing the box top, restore these settings to their default values: Support material > Pattern spacing (default 2mm).Support material > XY separation between and object and its support (default 60%). AssemblyImportant: Don't overdrive the screws into the screw holes. They just need to be attached to fasten the hinges and latches, and for the latches to clip on to when the box is closed. Place the box top onto the box bottom, and install screws into the hinges. Attach the front and side stacking latches with additional screws. If attaching a handle to the front, use two longer screws for the front latch screw on the bottom in order to attach the handle. Note: For large boxes with a three stacking latches per side and/or the optional third hinge, install the center hinge/latch screws first with a hex allen key before installing the remaining hinge/latch screws. Enjoy!I had a lot of fun creating this model. Please share your feedback and makes!
Tags: parametric, box, openscad, stacking, stackingcontainer, gridfinity, resin print, nz made, made to order
Design credit: Original design by bulbasaur0 - licensed under CC-BY-SA.
View original model + STL files on Printables ↗
View original model + STL files on Printables ↗
Frequently asked
How long does shipping take?
Gridfinity Rugged Storage Box, Parametric and Customizable is printed to order. Lead time is typically 1-3 business days plus 1-4 days NZ shipping. Standard NZ shipping is $10, free over $75.
What material is this printed in?
By default this is printed in High-Detail Resin (8K) at 0.025 mm layer height on an MSLA resin printer. Custom material and colour swaps are available, just leave a note at checkout.
Can I get this in a different colour?
Yes. Every product can be printed in any of the resin colours we stock, or hand-painted on request. Leave a note at checkout or email hello@3dprintworld.co.nz.
Do you ship outside of New Zealand?
Currently New Zealand only. Australian shipping is coming.
Who designed this?
Designed by an independent sculptor and licensed for commercial printing. The original is linked on this page.