Tool Holders
GEN2 Open Bin Lack Drawers
SKU 3DPW-pr-293485
$33.00NZD
In stock · Made-to-order resin · Ships from Auckland · Free shipping over $75
- Material
- High-Detail Resin (8K)
- Colour
- Grey
- Weight
- ~40 g
- Print time
- ~4.5 h
- Shipping
- $10 std · $20 express
- Lead time
- 1-3 d print + 1-4 d ship
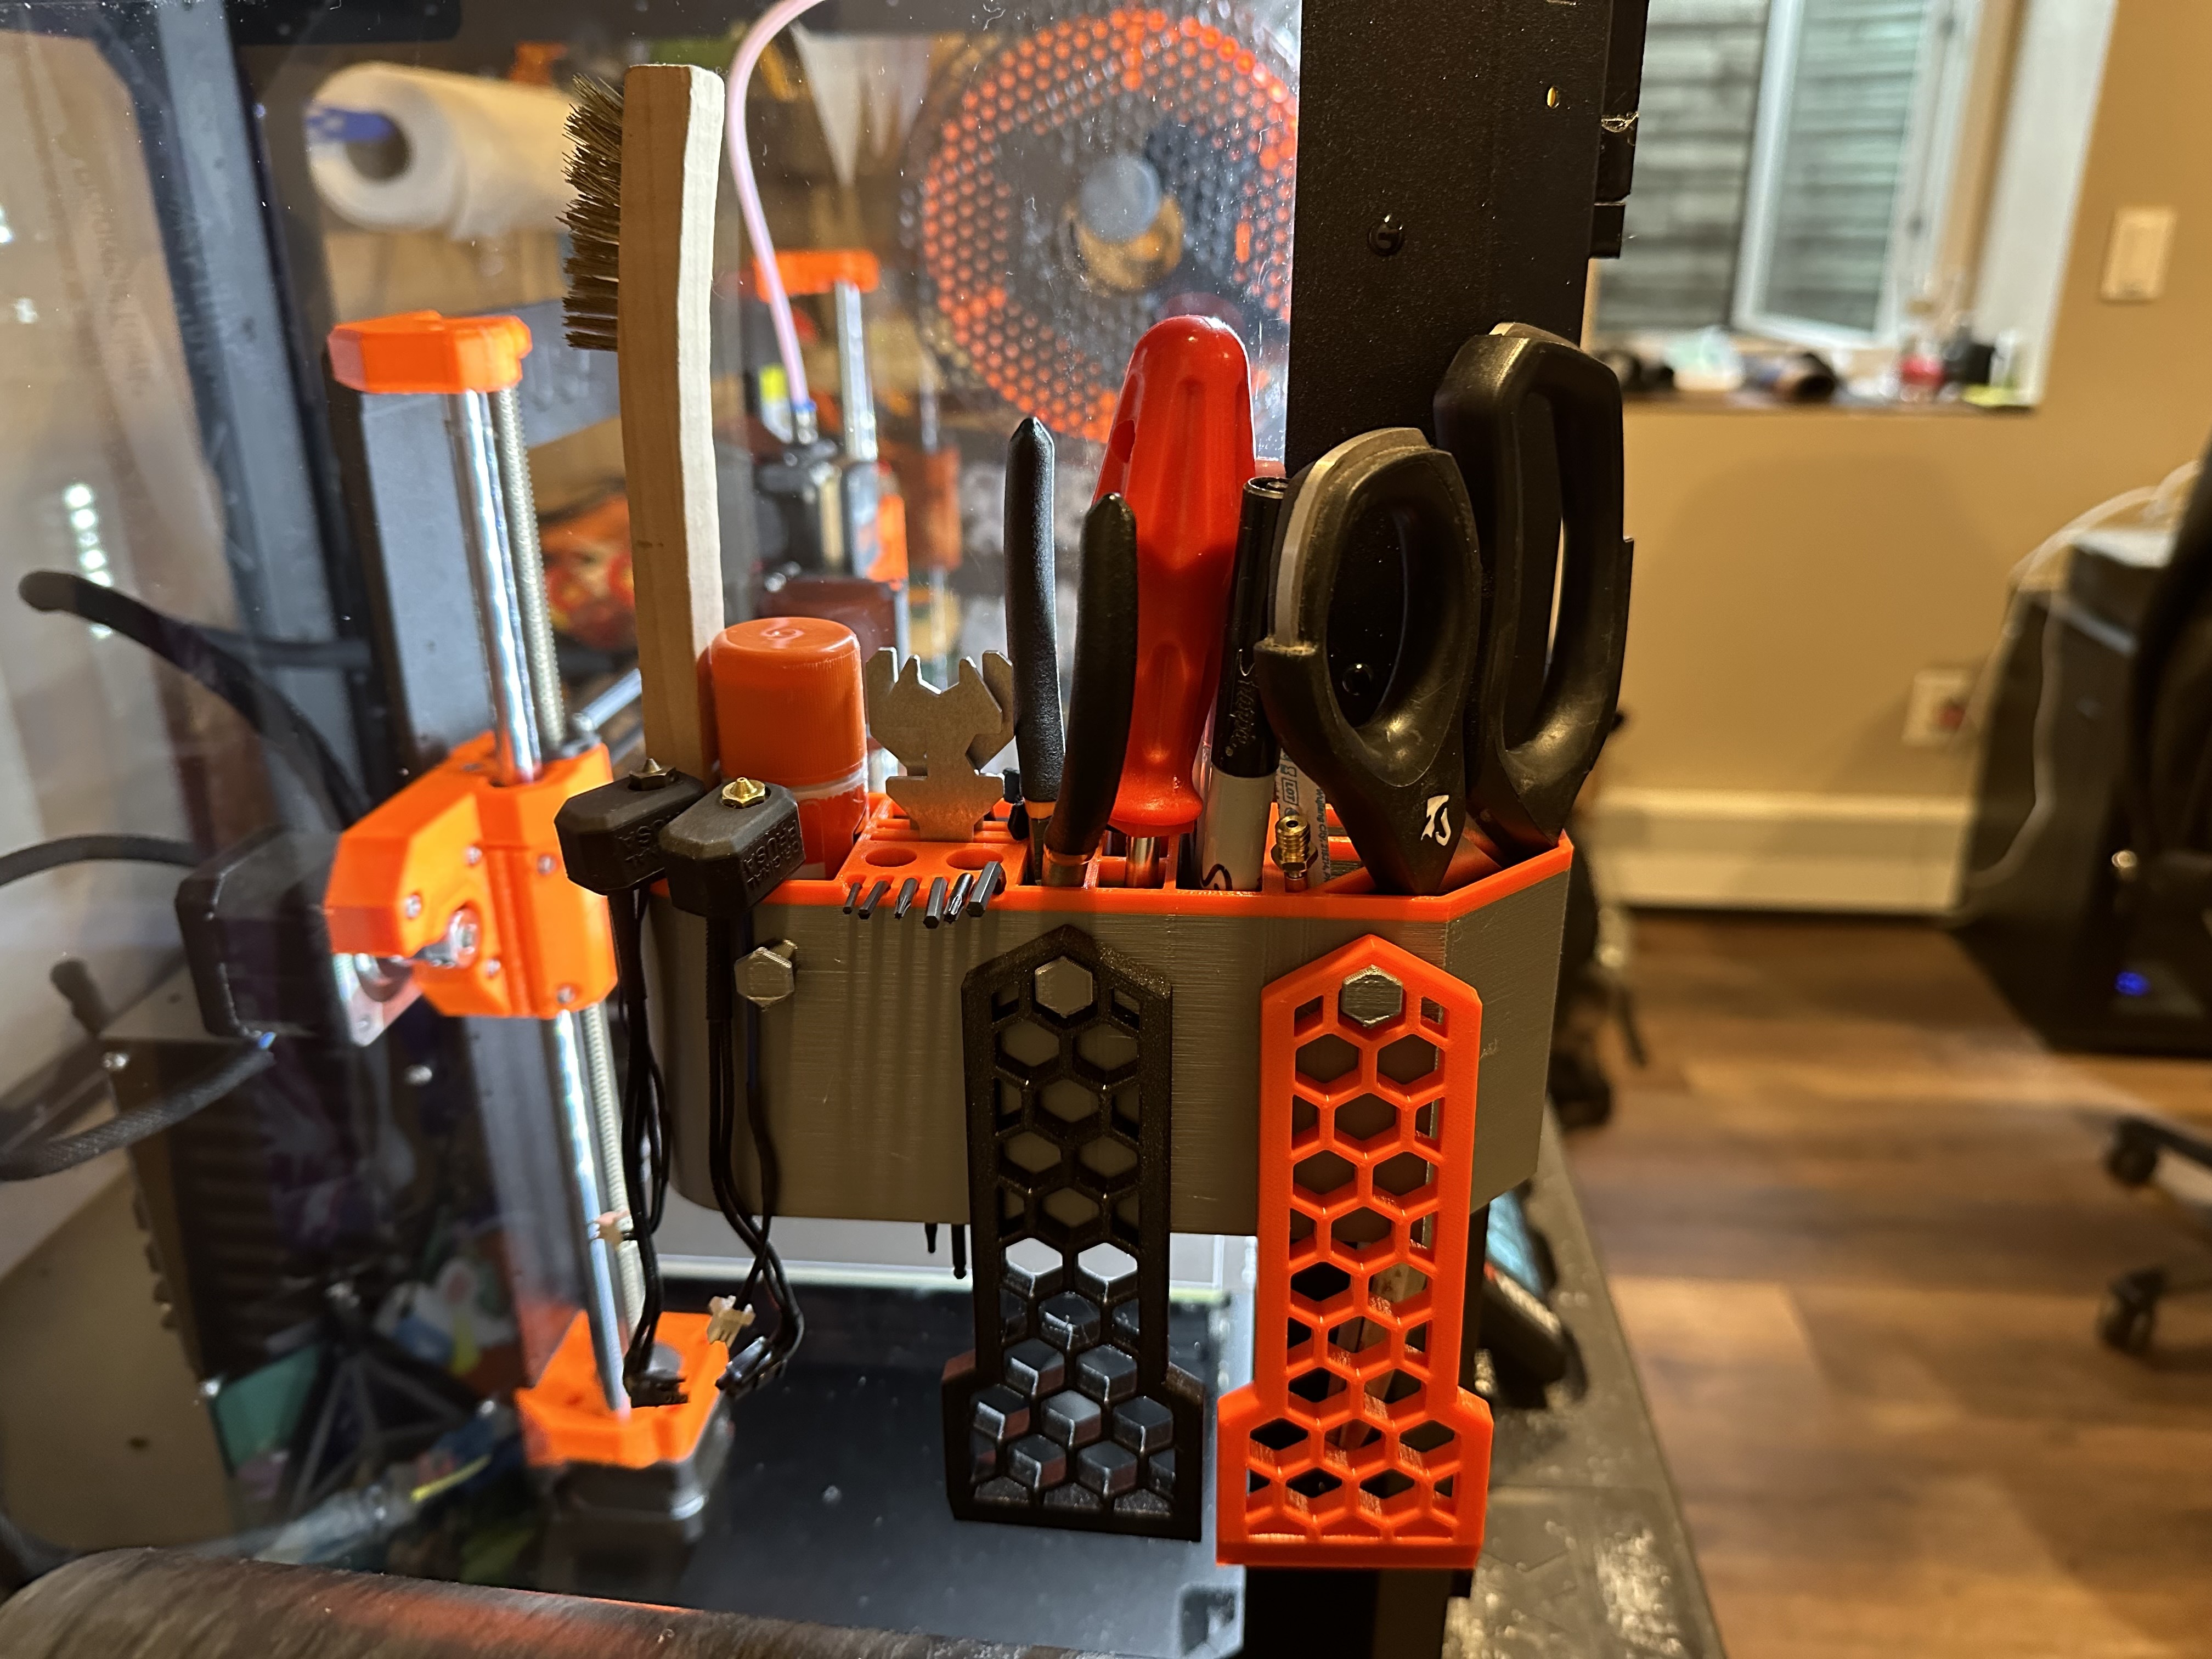
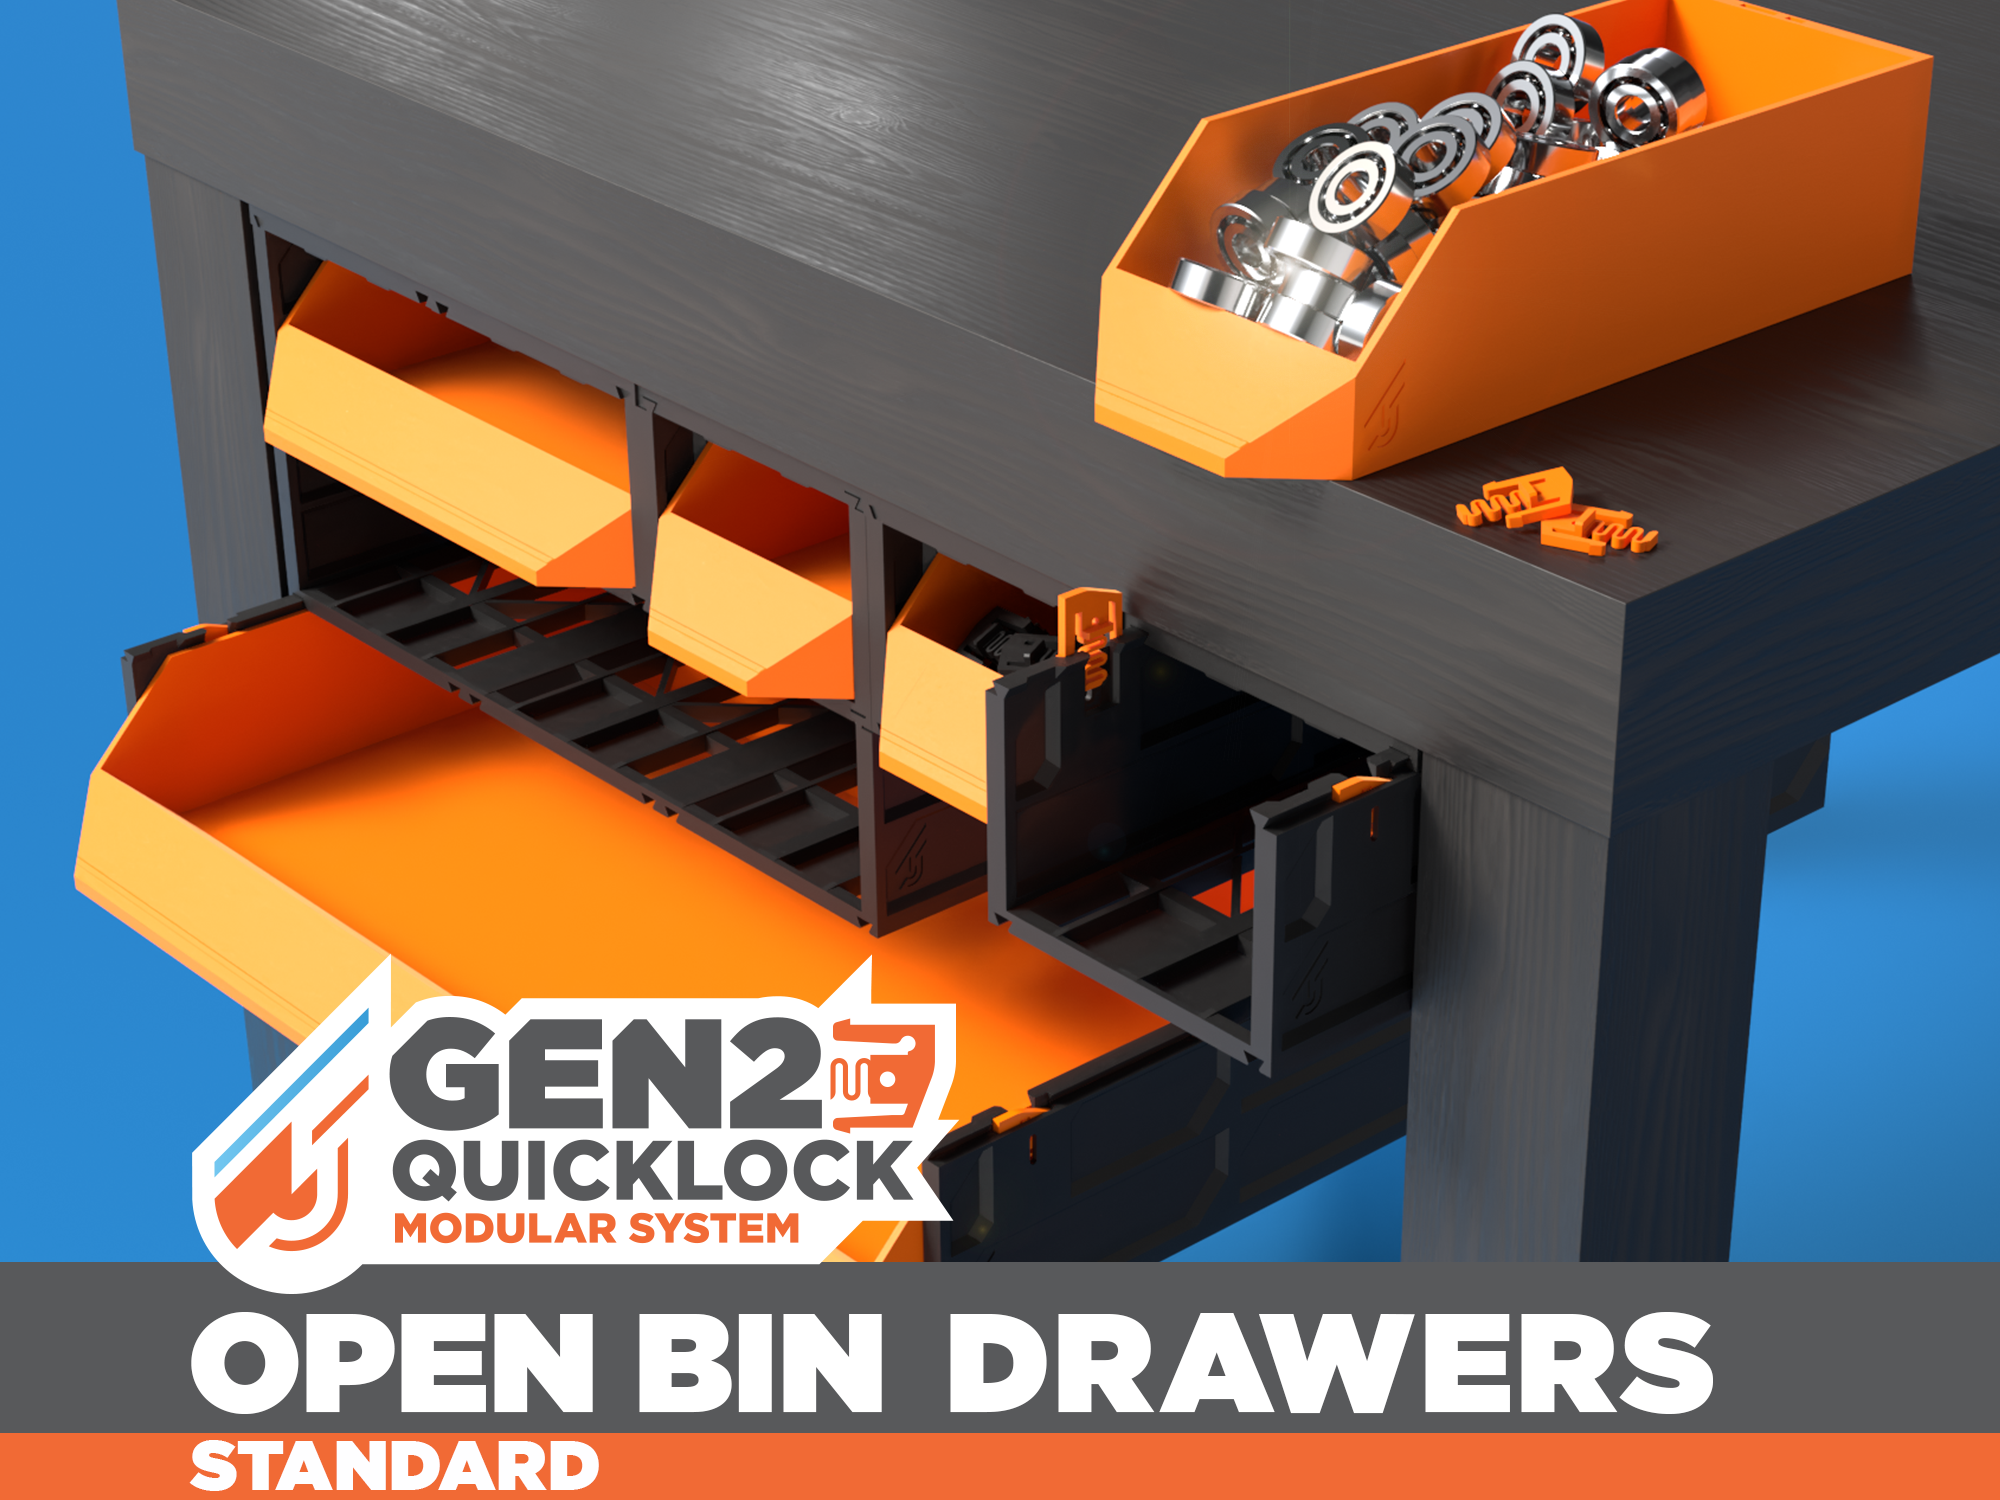
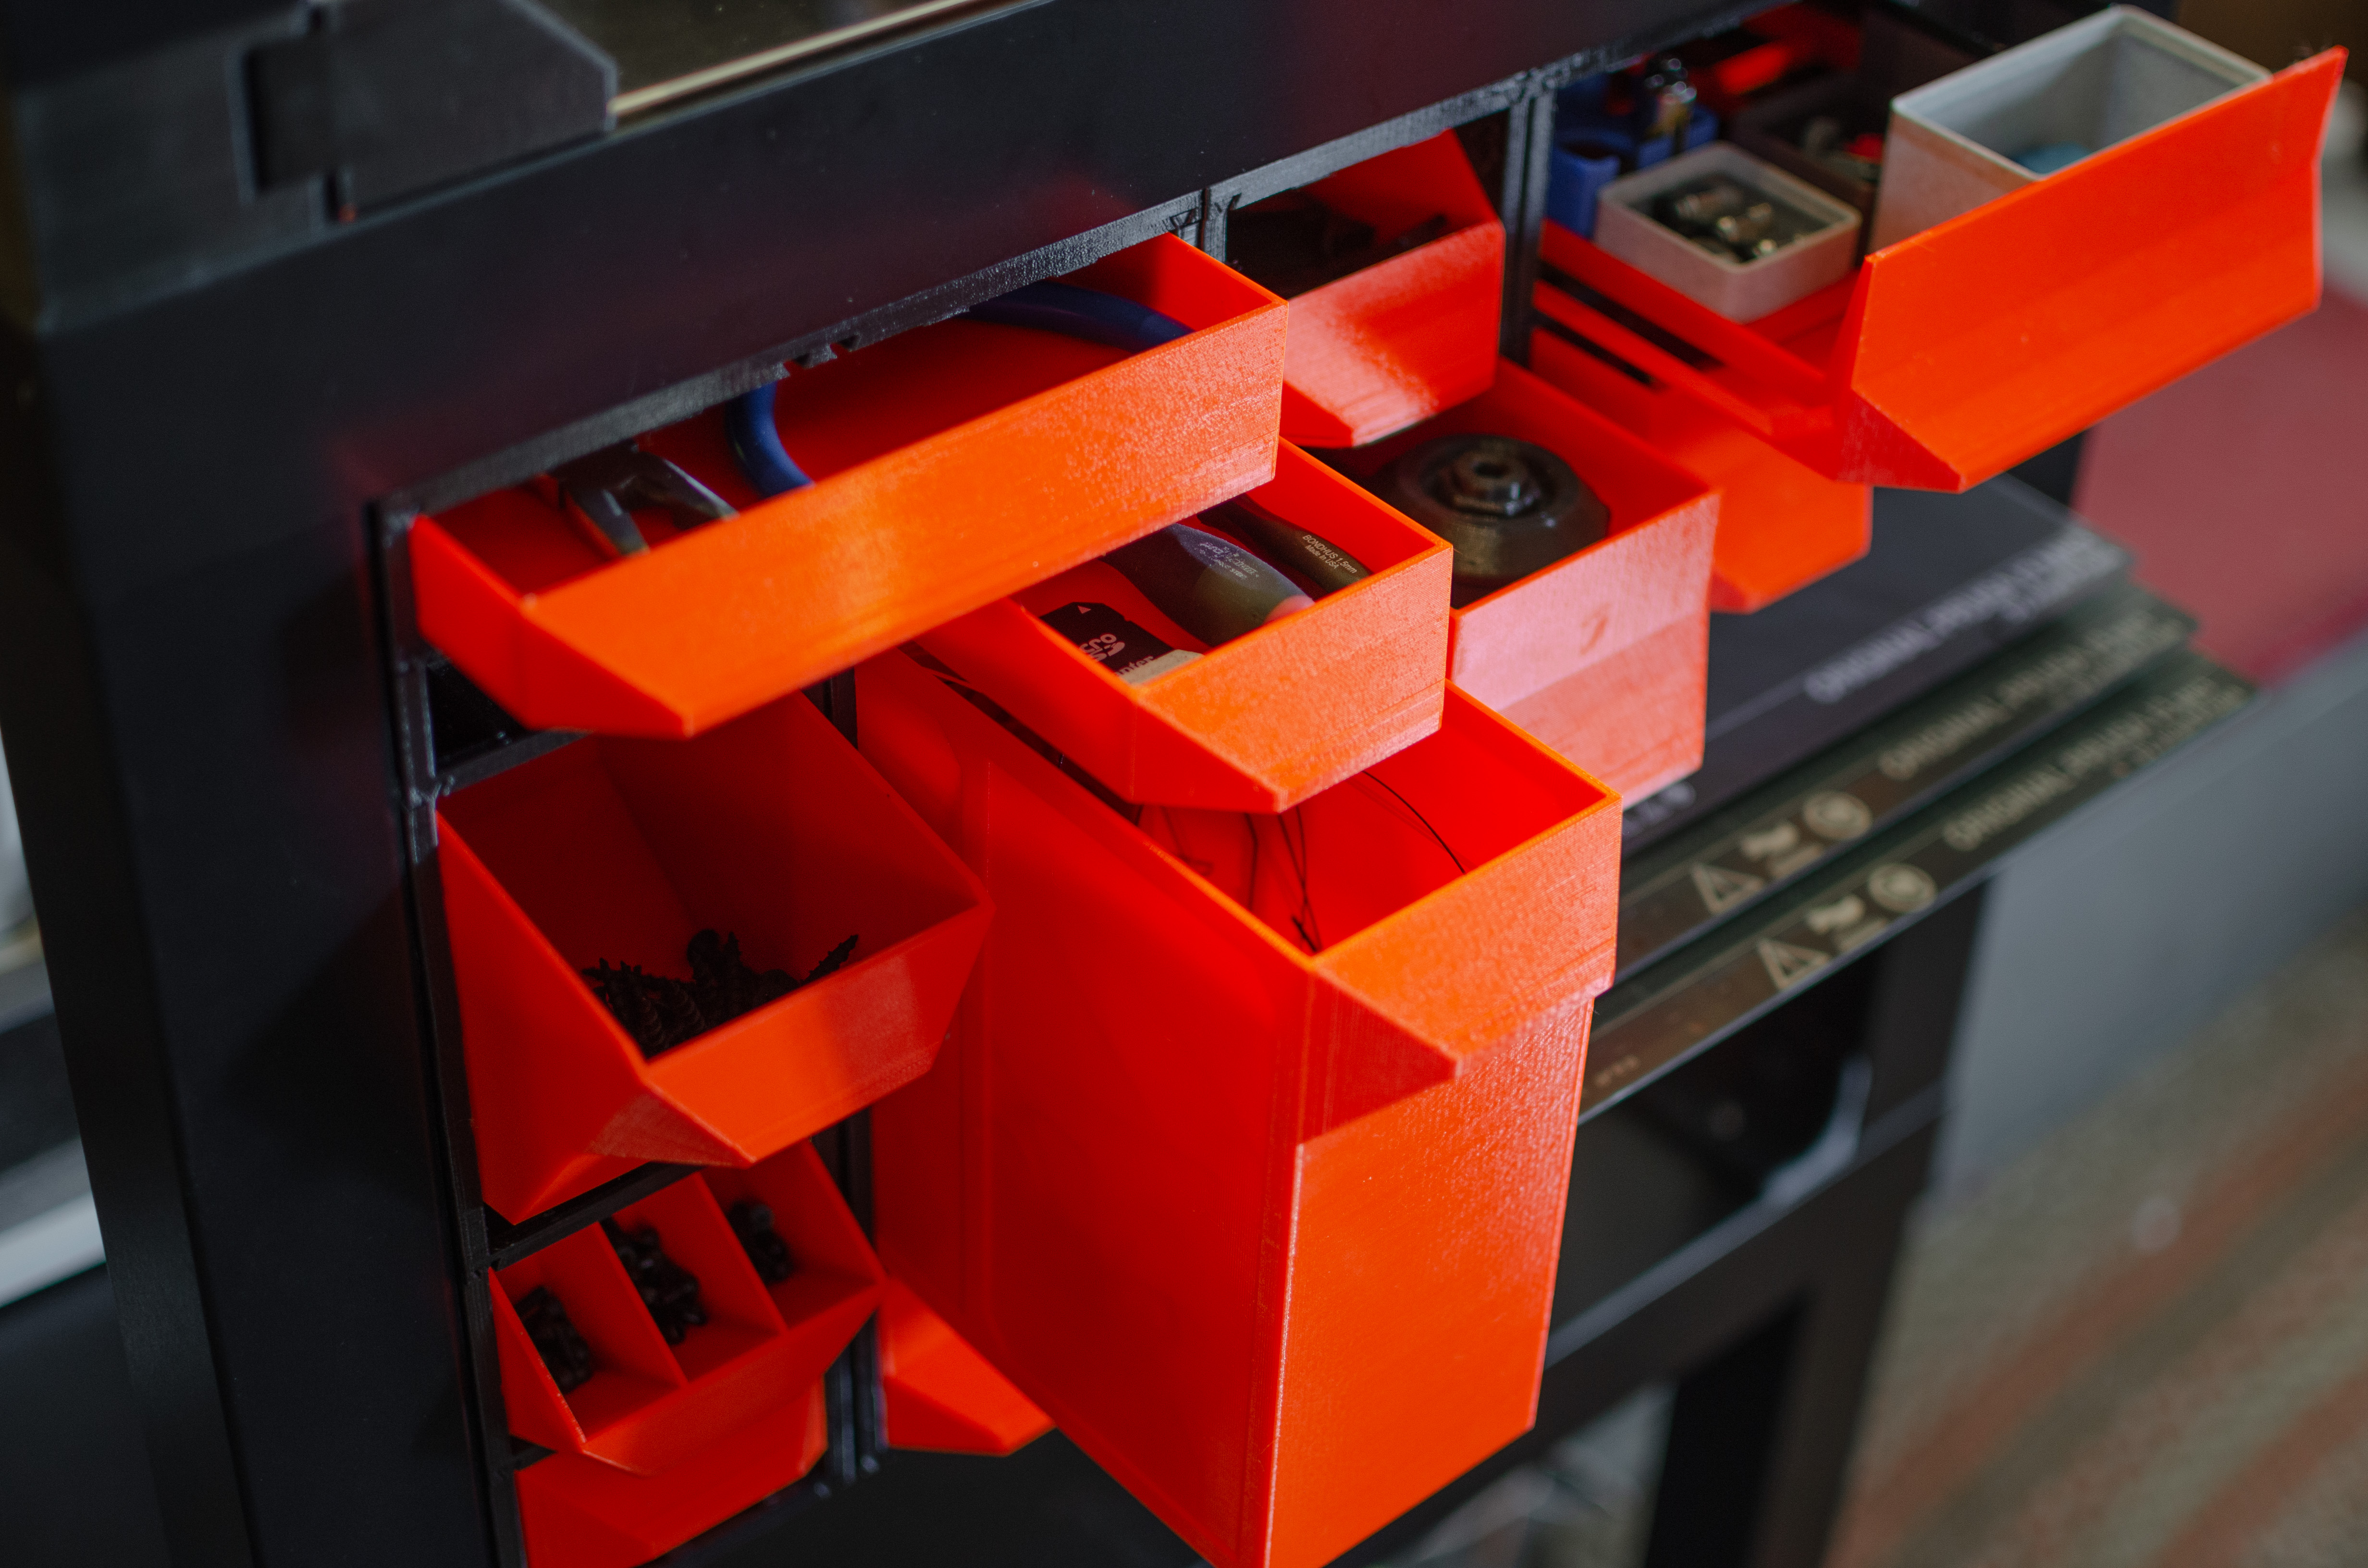
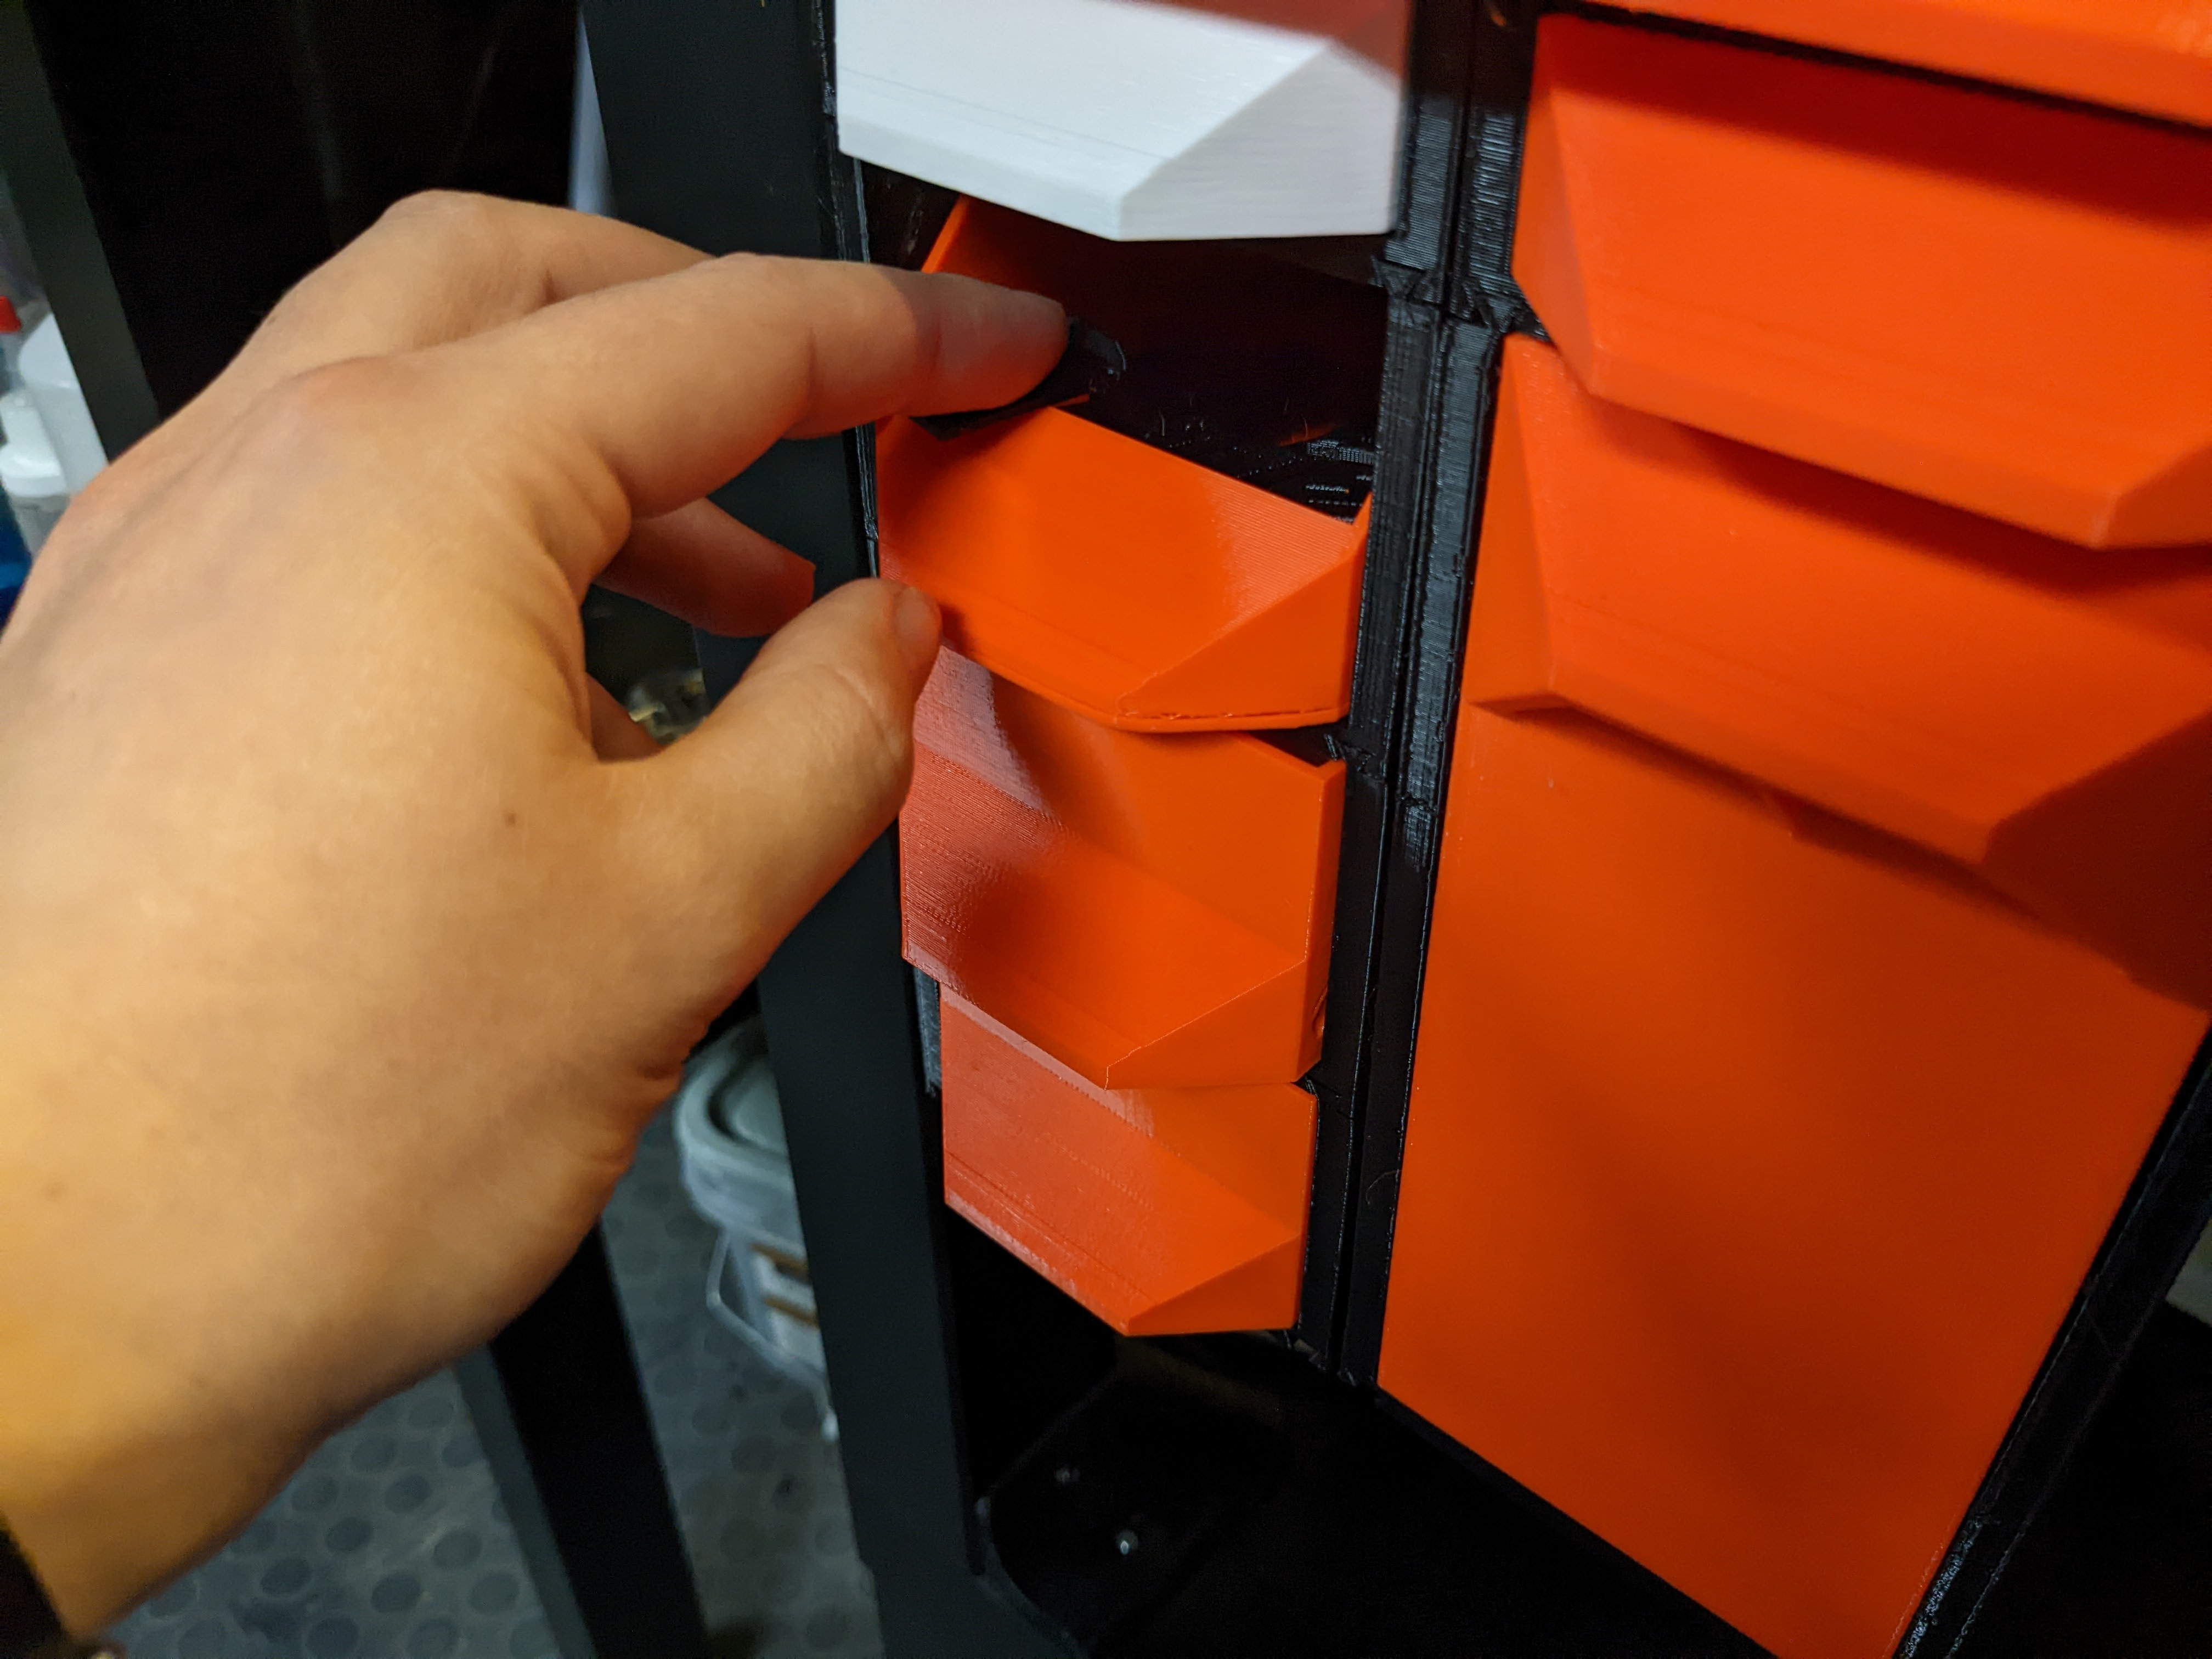
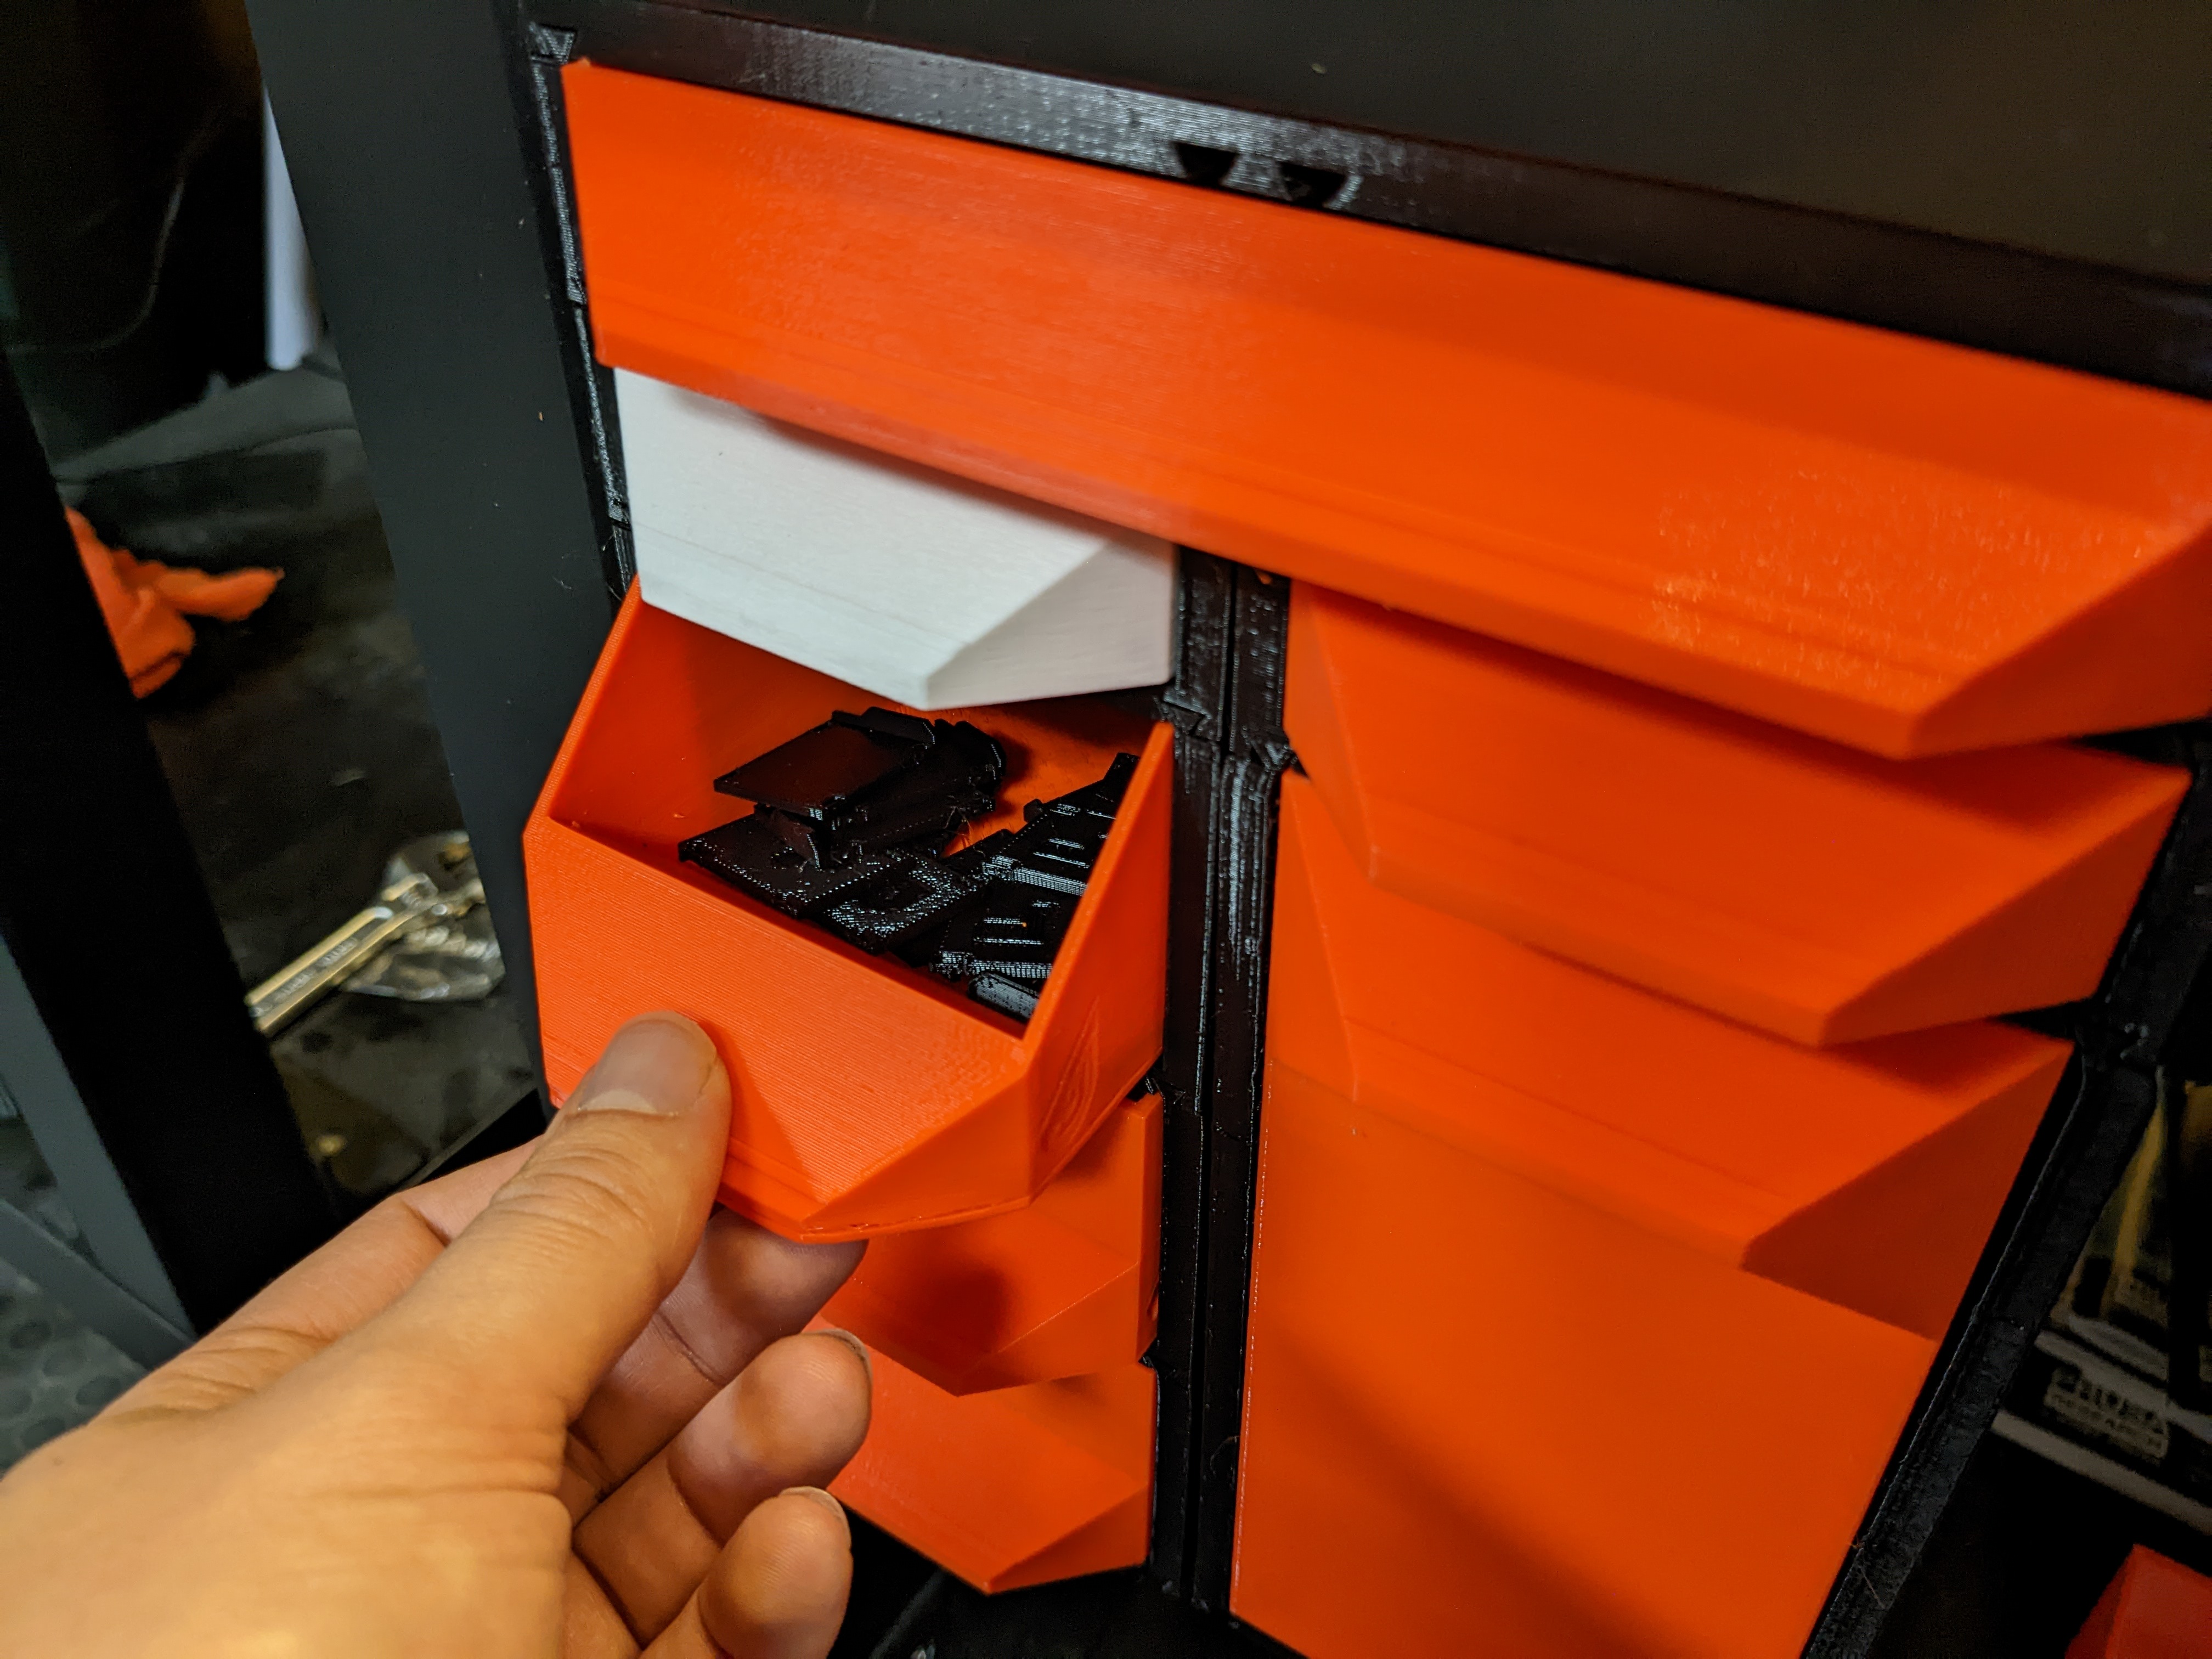
JERRARI3D.com The GEN2 Open Bin Lack Drawers are part of the GEN2 Modular Storage System I designed which features a simplified installation method that allows you to rearrange and customize layouts in minutes. Where the GEN2 Open Bins differ from standard lack drawers is the opening in the front. This feature allows for easier and quicker access to small contents withing, such as screws or small parts. The base of the drawers slants up toward the opening to aid in sliding items out through the opening. The opening has a secondary function acting as a window to see the contents of the drawer without having to necessarily label it. Originally designed for the “Original Prusa i3 MK3 ENCLOSURE…", The Lack drawers have found their way on to many desks, workbenches, and other tables as well. Now with the Gen2's rail design you can quickly swap the storage units between work areas. Introducing GEN2 QuickLock! Features: • Gen2 rails allowing quick and easier swap-ability and combinations of many Gen2 Storage System designs. • Lack Drawers also include optional slots for magnets allowing drawers to snap into place with a nice "Click". • Drawer stoppers keep your drawers from attacking your feet. • Designed for larger and easier to install wood screws over the original lack enclosure drawer design. HARDWARE • Screwdriver • Countersunk woodscrews: (Metric: 4x25mm to 4x16mm) or (SAE: #6 or #8 up to 1" long) • Drill bit that is smaller diameter than the wood screws • Pen, Marker, or Scratch Awl • Magnets (Optional): 10x5x2mm or 10x2mm • M3 nuts • M3 Screws M3x6 - M3x10 INSTRUCTIONS • With a marker or pen use the GEN2-QL rail to mark the hole locations on the surface you are mounting. • Drill out marked locations using a drill bit smaller than the diameter of the wood screw you will be using. • Prep the rail for installation by installing M3 nuts into the hexagonal holes. You can use a M3 screw to position and tighten the nut in place. • Install the rail using wood screws, use at least 4 screws on the outer corners to mount the single rail and and 6 to mount the double rail. (extra screw holes are available if you plan to stack more than 2 rows of drawers or contents of heavier than normal weight.) • Prep the drawer case for installation: • Install GEN2-QL (QuickLock Mechanisms) into the drawer case. These will allow you to quickly lock and unlock drawers without the need to screw them in place with a rail lock. - Install optional magnets if desired NOTE: you only need to install at least one magnet, you can choose to install 2 stacked if you want more magnetism between the case and the drawer. Pay attention to polarity, they can be corrected later if needed. - Install optional nuts in drawer case (these are only used if you are installing a shorter drawer beneath this drawer case. - Install optional drawer stops by pressing them into place as they are friction fit. Pay attention to the orientation, notch facing down and towards the front to pass through the slot. The one labeled “L” goes on the left side of the case and “R” on the right side. (While facing the front of the case) • Slide the case into position until it either stops or lines up with the front of the rail. (If you feel any resistance you might need to clean up and plastic imperfections around the male or female rails. • Slide a rail lock into the rail found on the backside of the drawer case, slide all the way to the top until it buts up against the hole in the rail that contains the nut. Screw in place using a M3x8 or M3x10. • Prep the drawer, install the optional magnet, pay attention to the polarity. (If you need to remove the magnet you can use another magnet to pull it out of place or use a small Allen wrench or paper clip inserted into the hole below it.) • Insert the drawer by tilting in back when installing in order to pass by the drawer stopper notches. The drawer should now slide into place. • I guess you're all done unless you want to make more drawers :) Installing Drawers under each other• This is the same process as above but instead of mounting the "Rail Lock" into the nut on the rail you will need to slide a “Rail Lock Upper” into place on the back of the case above or if installing a shorter drawer line up with the hole in the case above it. NOTE: You can only install the same length or smaller drawer case under each drawer case. RECOMMENDED PRINT SETTINGSFilament: PLA (PETG or ABS for heavier duty storage) Nozzle Size: 0.4mm Print Height: 0.2-0.35mm Infill: 10-20% NOTE: The new cases in this design are backwards compatible with drawers from the original Lack Enclosure Drawers design GEN2 COMPATIBLE PRINTSGen2 Gridfinity DrawersDownload HERE Gen2 Parts DrawersDownload HERE Gen2 Slim Lack Enclosure DrawersDownload HERE Gen2 Steel Sheet HolderDownload HERE Gen2 Modular Tilt DrawersDownload HERE Gen2 Large Modular Tilt DrawersDownload HERE Gen2 Large Enclosure BinsDownload HERE PLAN YOUR BUILD IN SECONDSNot sure which parts fit together? The free GEN2 Planner lets you design your build in 3D, checks every part against your printer size, and hands you the exact print list · no guesswork, no wrong sizes: gen2planner.jerrari3d.com SUPPORT GEN2 AND UNLOCK MOREThe GEN2 system is free and always will be. If it saves you time or space, you can support the project by joining the Jerrari Club (CAD and STEP files, early access, premium drops) or picking up a premium faceplate collection · it means a lot and directly fuels new designs. • Jerrari Club: Join here • Premium faceplates: Decor Faceplate Collections
Tags: table, box, tool, ikea, wrench, mk3, resin print, nz made, made to order
Design credit: Original design by Jerrari - licensed under CC-BY.
View original model + STL files on Printables ↗
View original model + STL files on Printables ↗
Frequently asked
How long does shipping take?
GEN2 Open Bin Lack Drawers is printed to order. Lead time is typically 1-3 business days plus 1-4 days NZ shipping. Standard NZ shipping is $10, free over $75.
What material is this printed in?
By default this is printed in High-Detail Resin (8K) at 0.025 mm layer height on an MSLA resin printer. Custom material and colour swaps are available, just leave a note at checkout.
Can I get this in a different colour?
Yes. Every product can be printed in any of the resin colours we stock, or hand-painted on request. Leave a note at checkout or email hello@3dprintworld.co.nz.
Do you ship outside of New Zealand?
Currently New Zealand only. Australian shipping is coming.
Who designed this?
Designed by an independent sculptor and licensed for commercial printing. The original is linked on this page.