Cable Management
Ender 5 Cable Management Brace
SKU 3DPW-pr-389559
$200.00NZD
In stock · Made-to-order resin · Ships from Auckland · Free shipping over $75
- Material
- PLA (filament)
- Colour
- Grey
- Weight
- ~40 g
- Print time
- ~4.5 h
- Shipping
- $10 std · $20 express
- Lead time
- 1-3 d print + 1-4 d ship
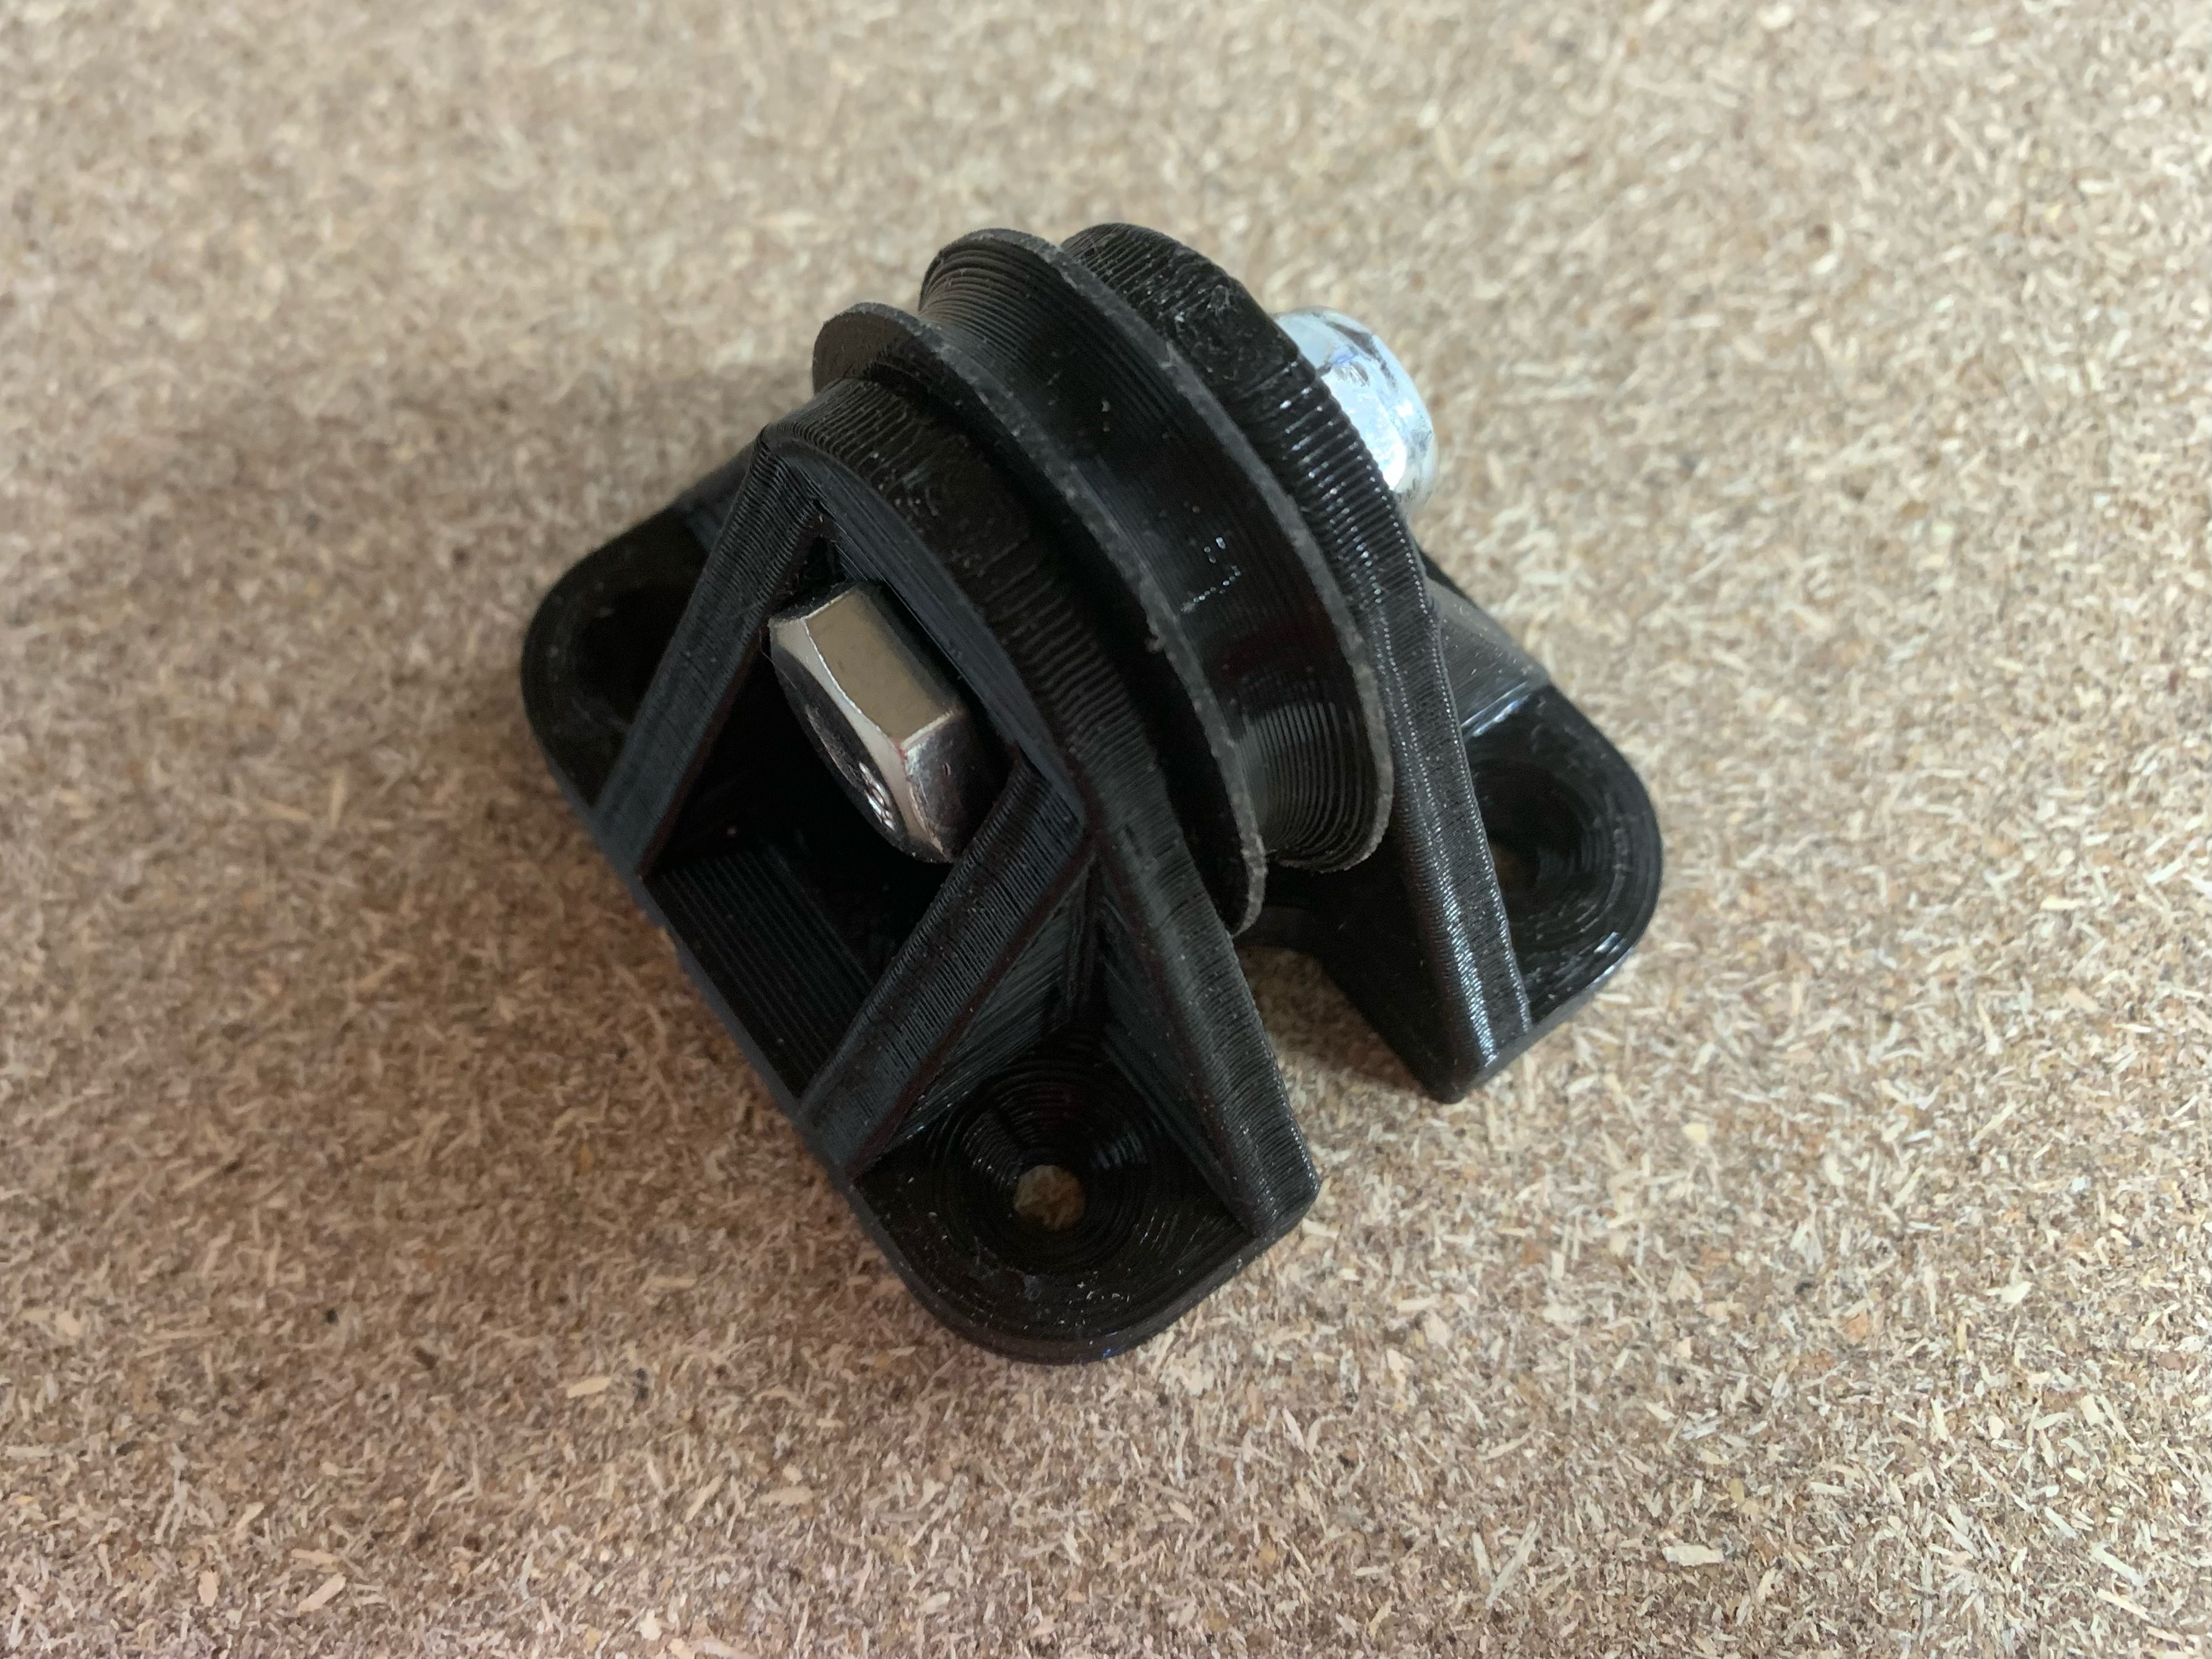
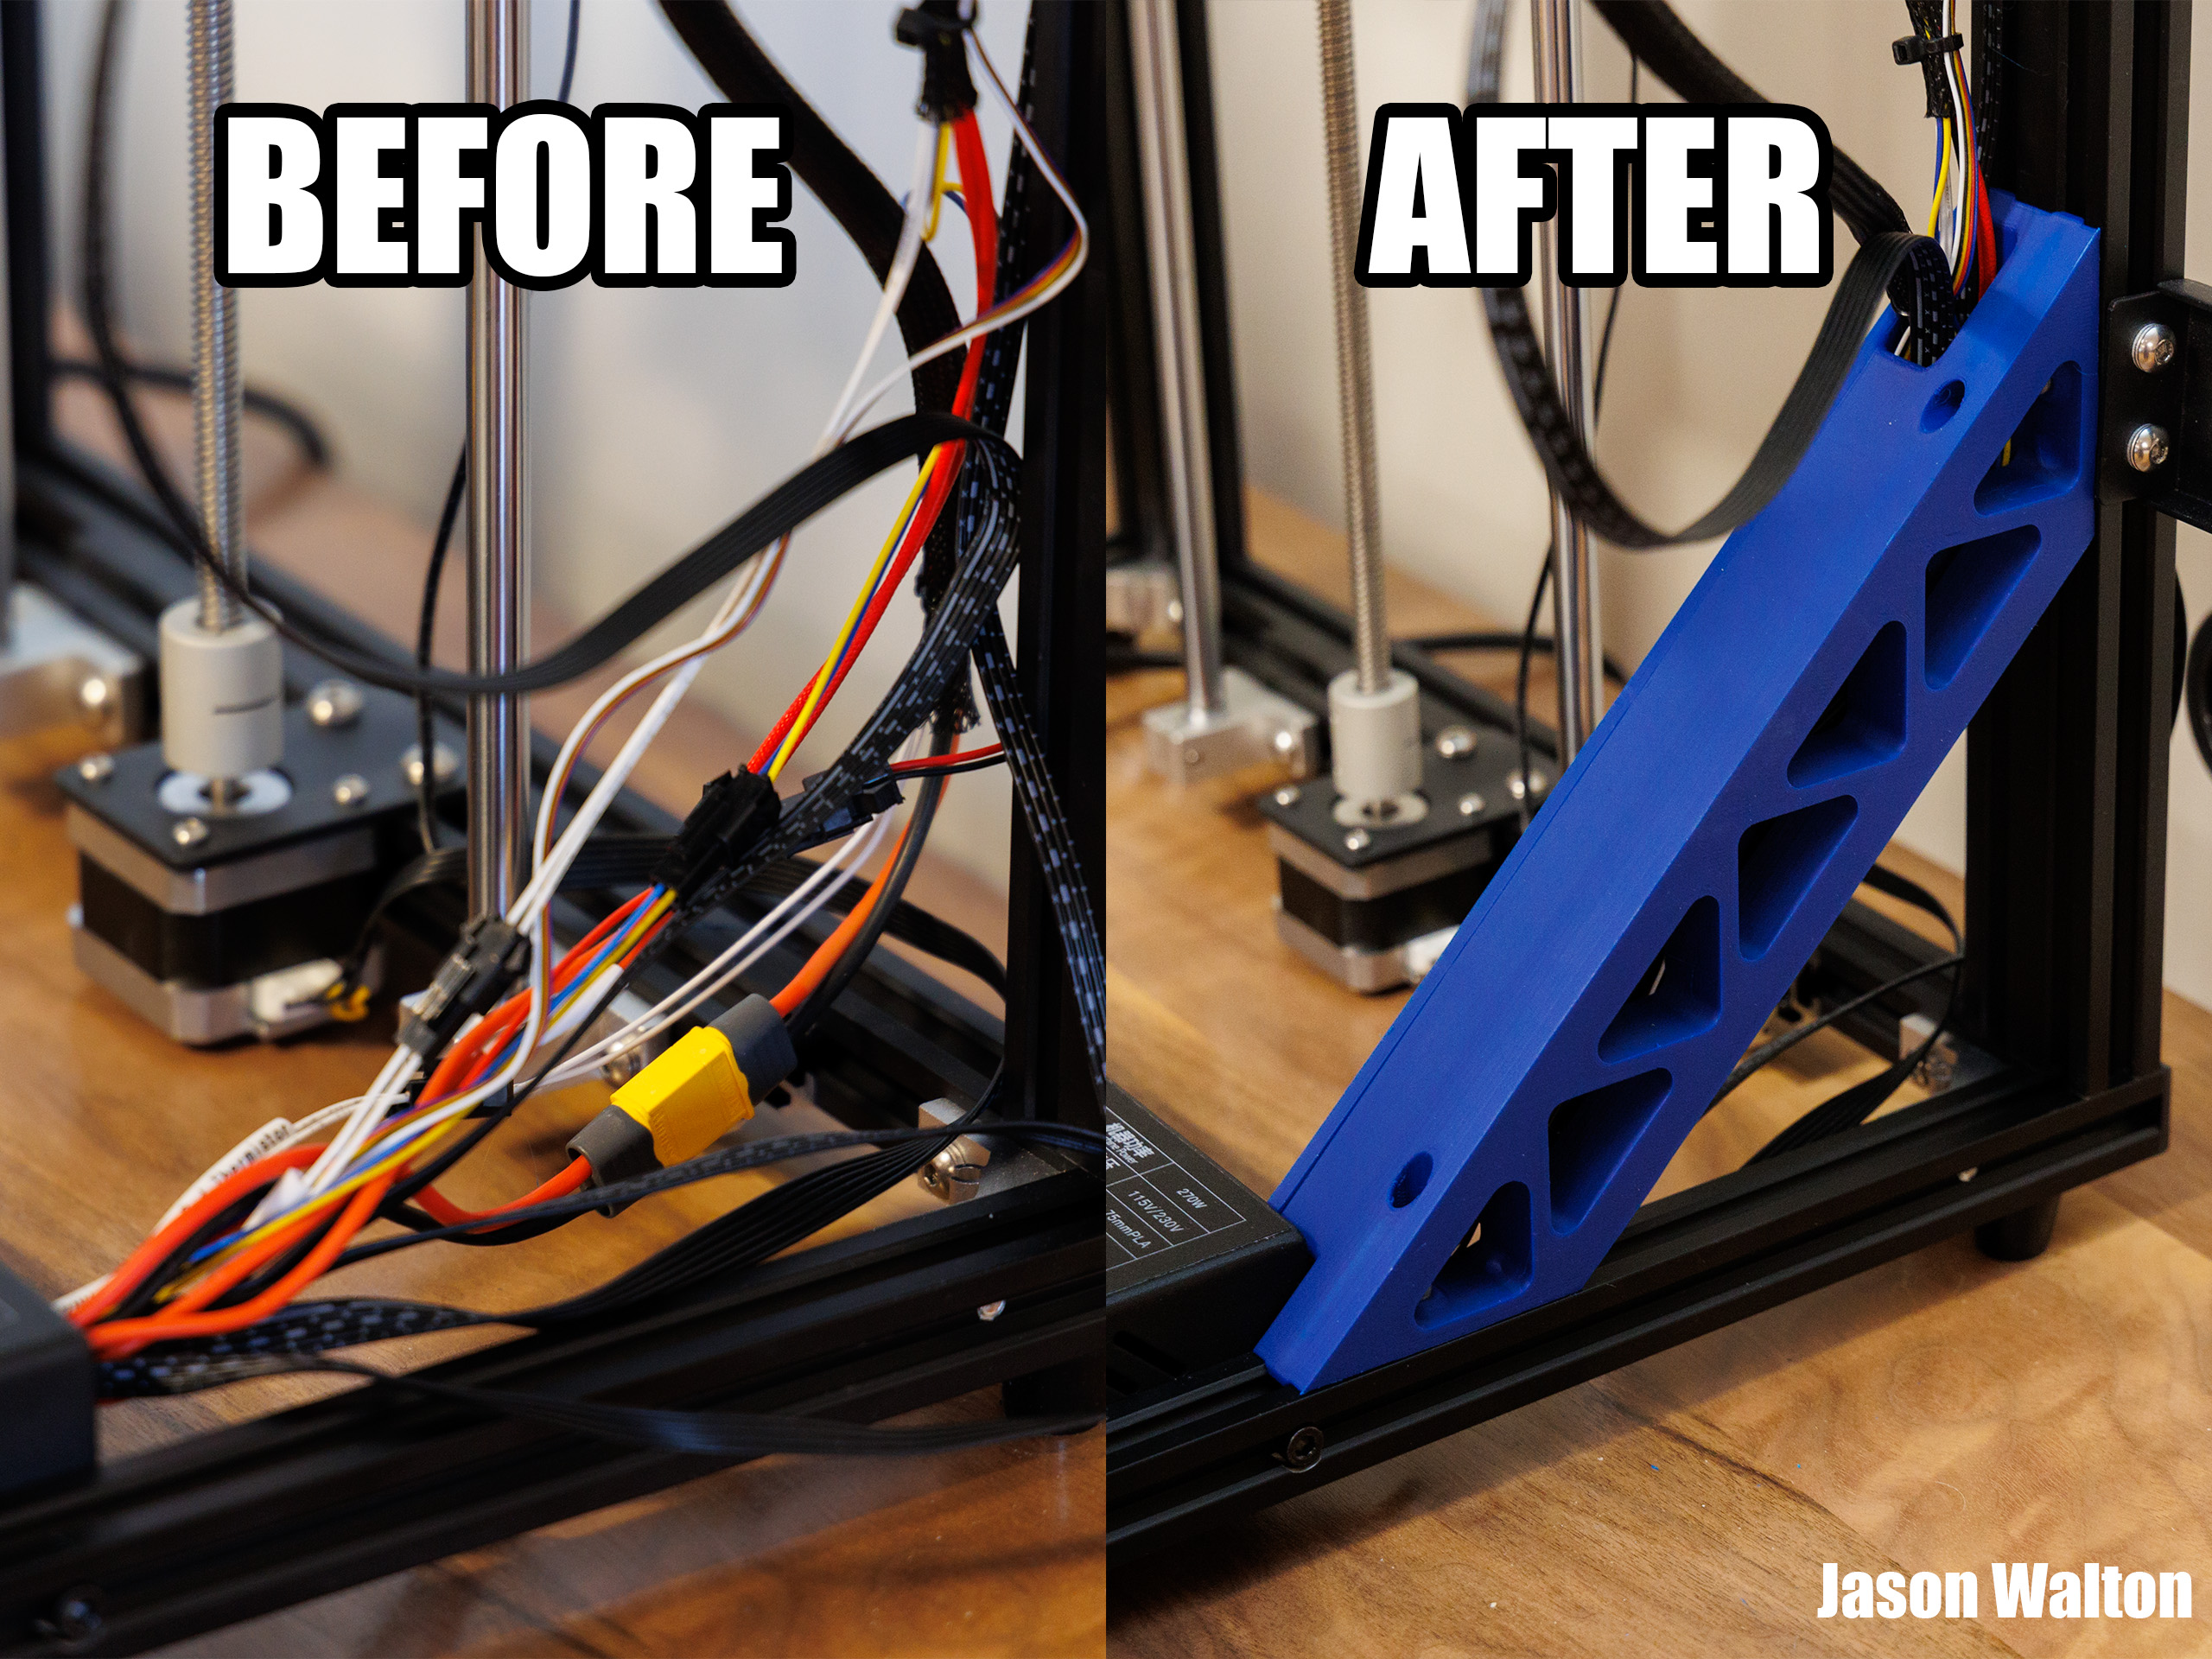
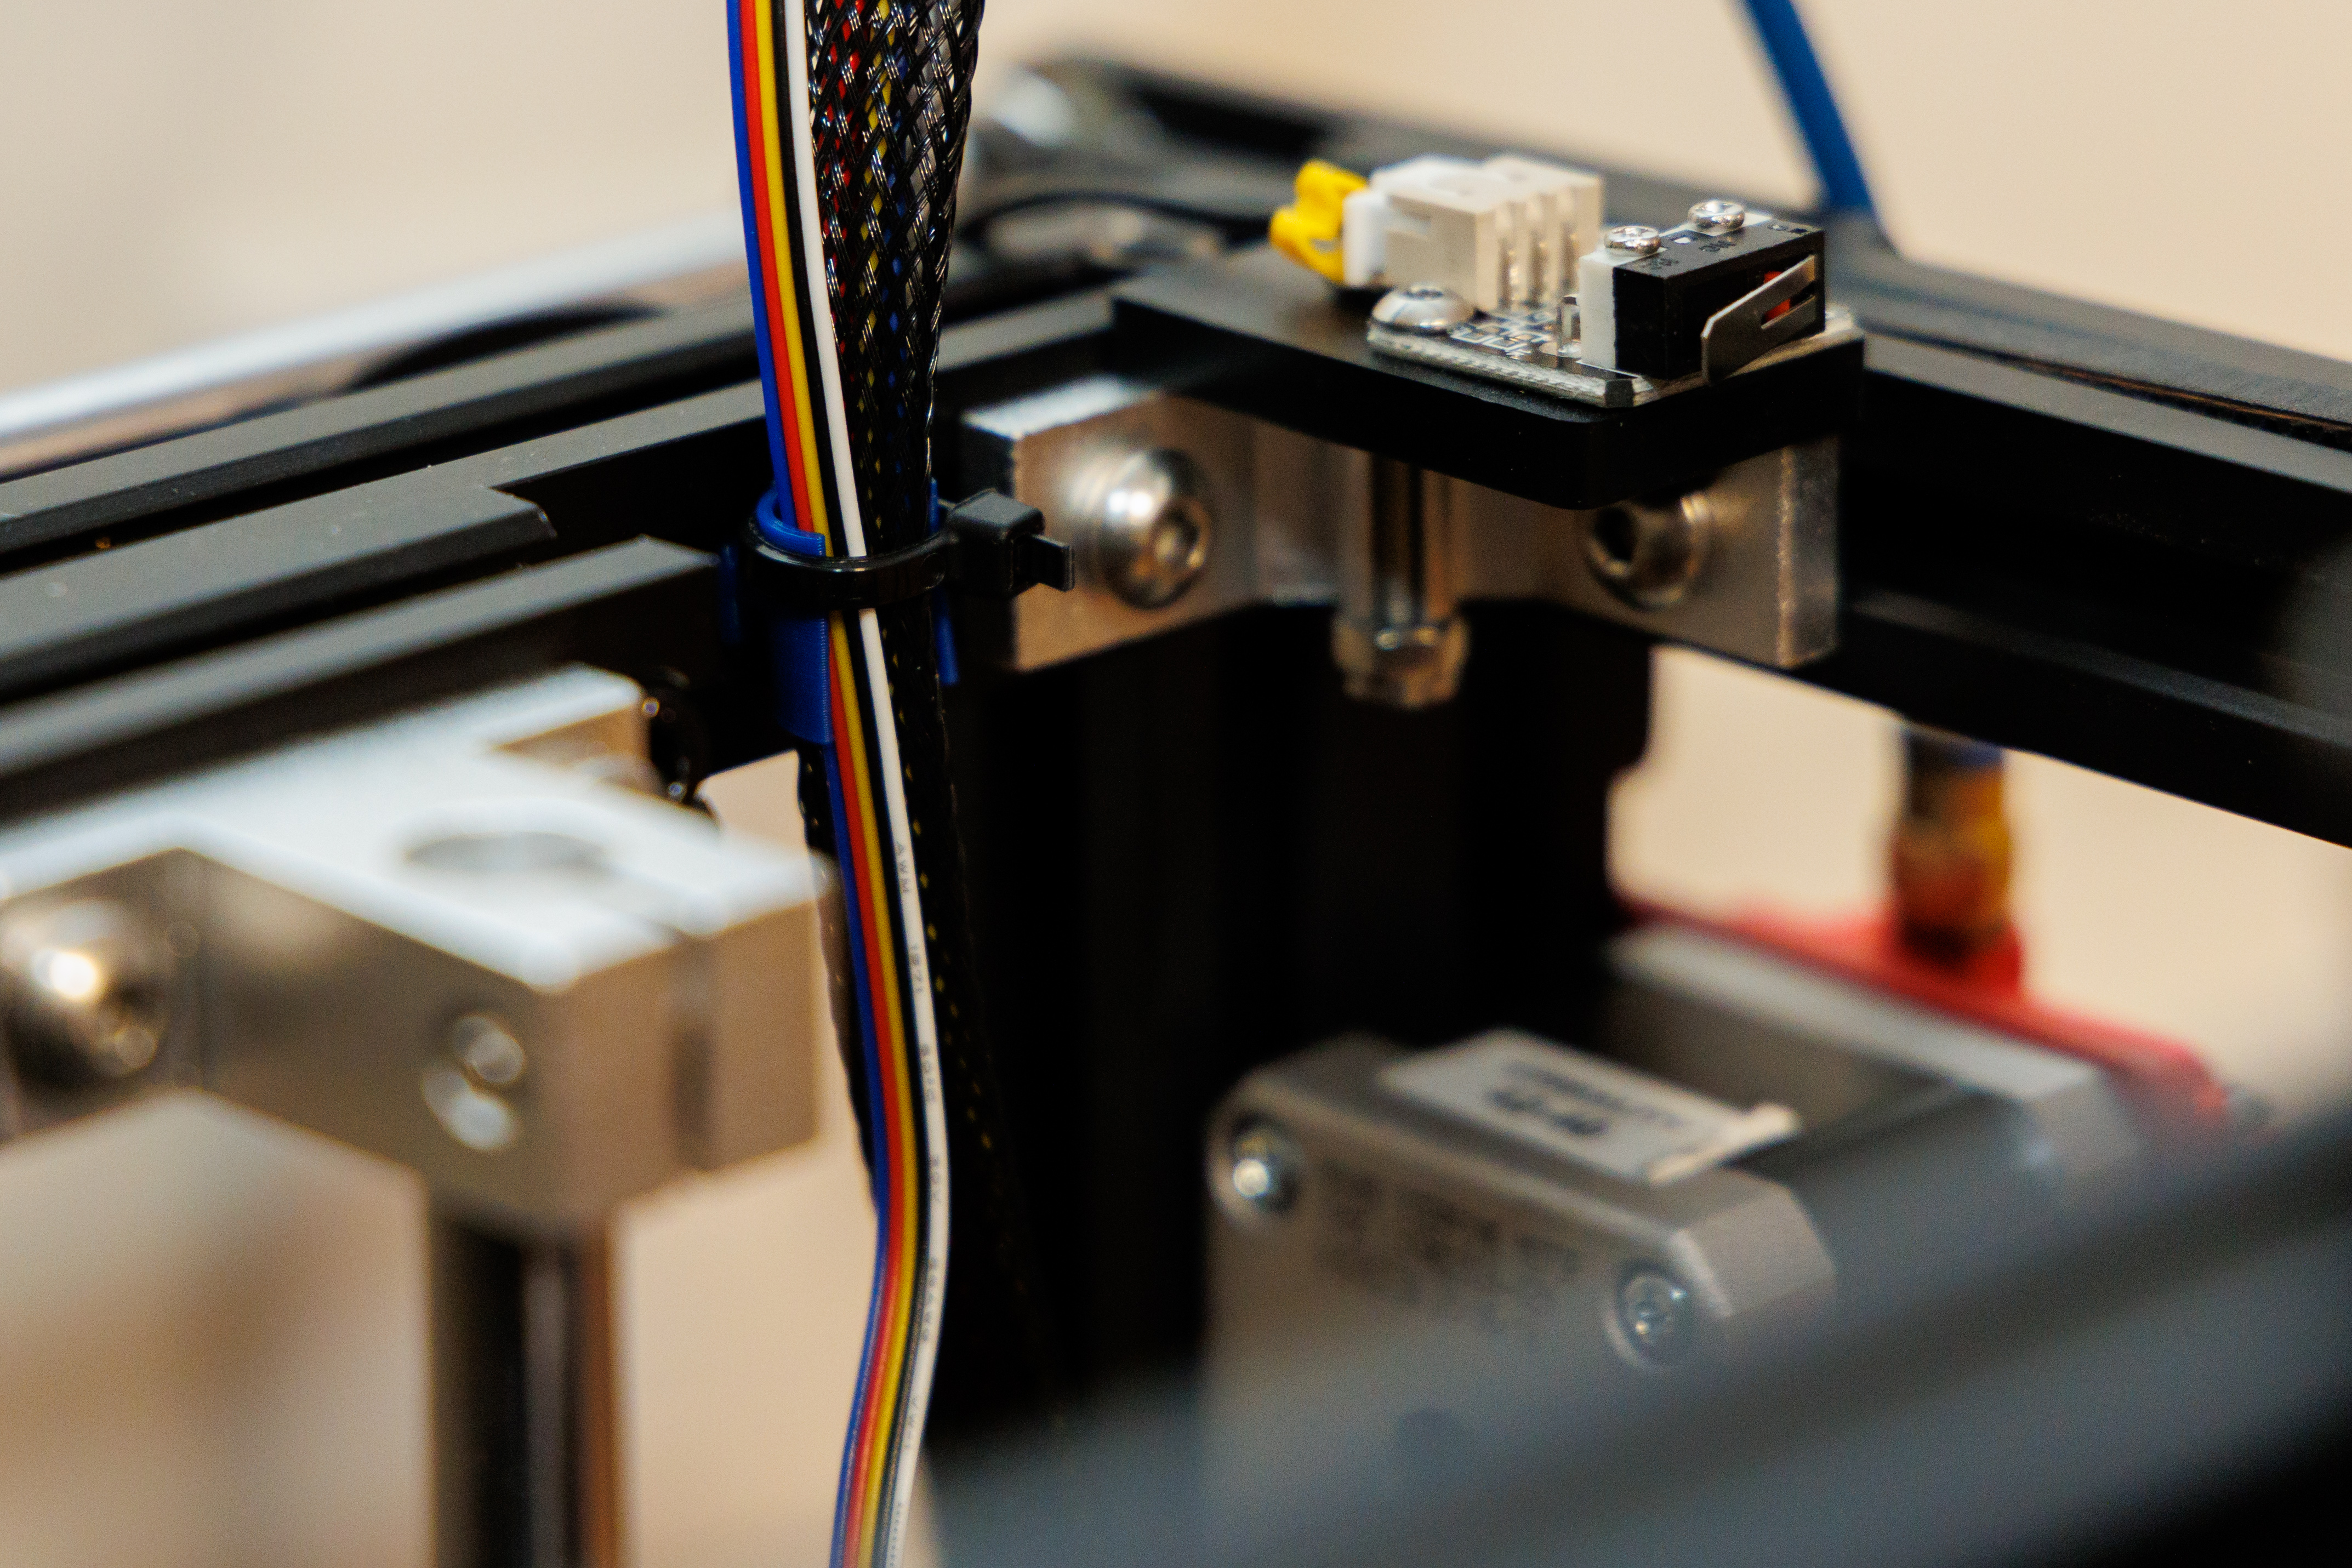
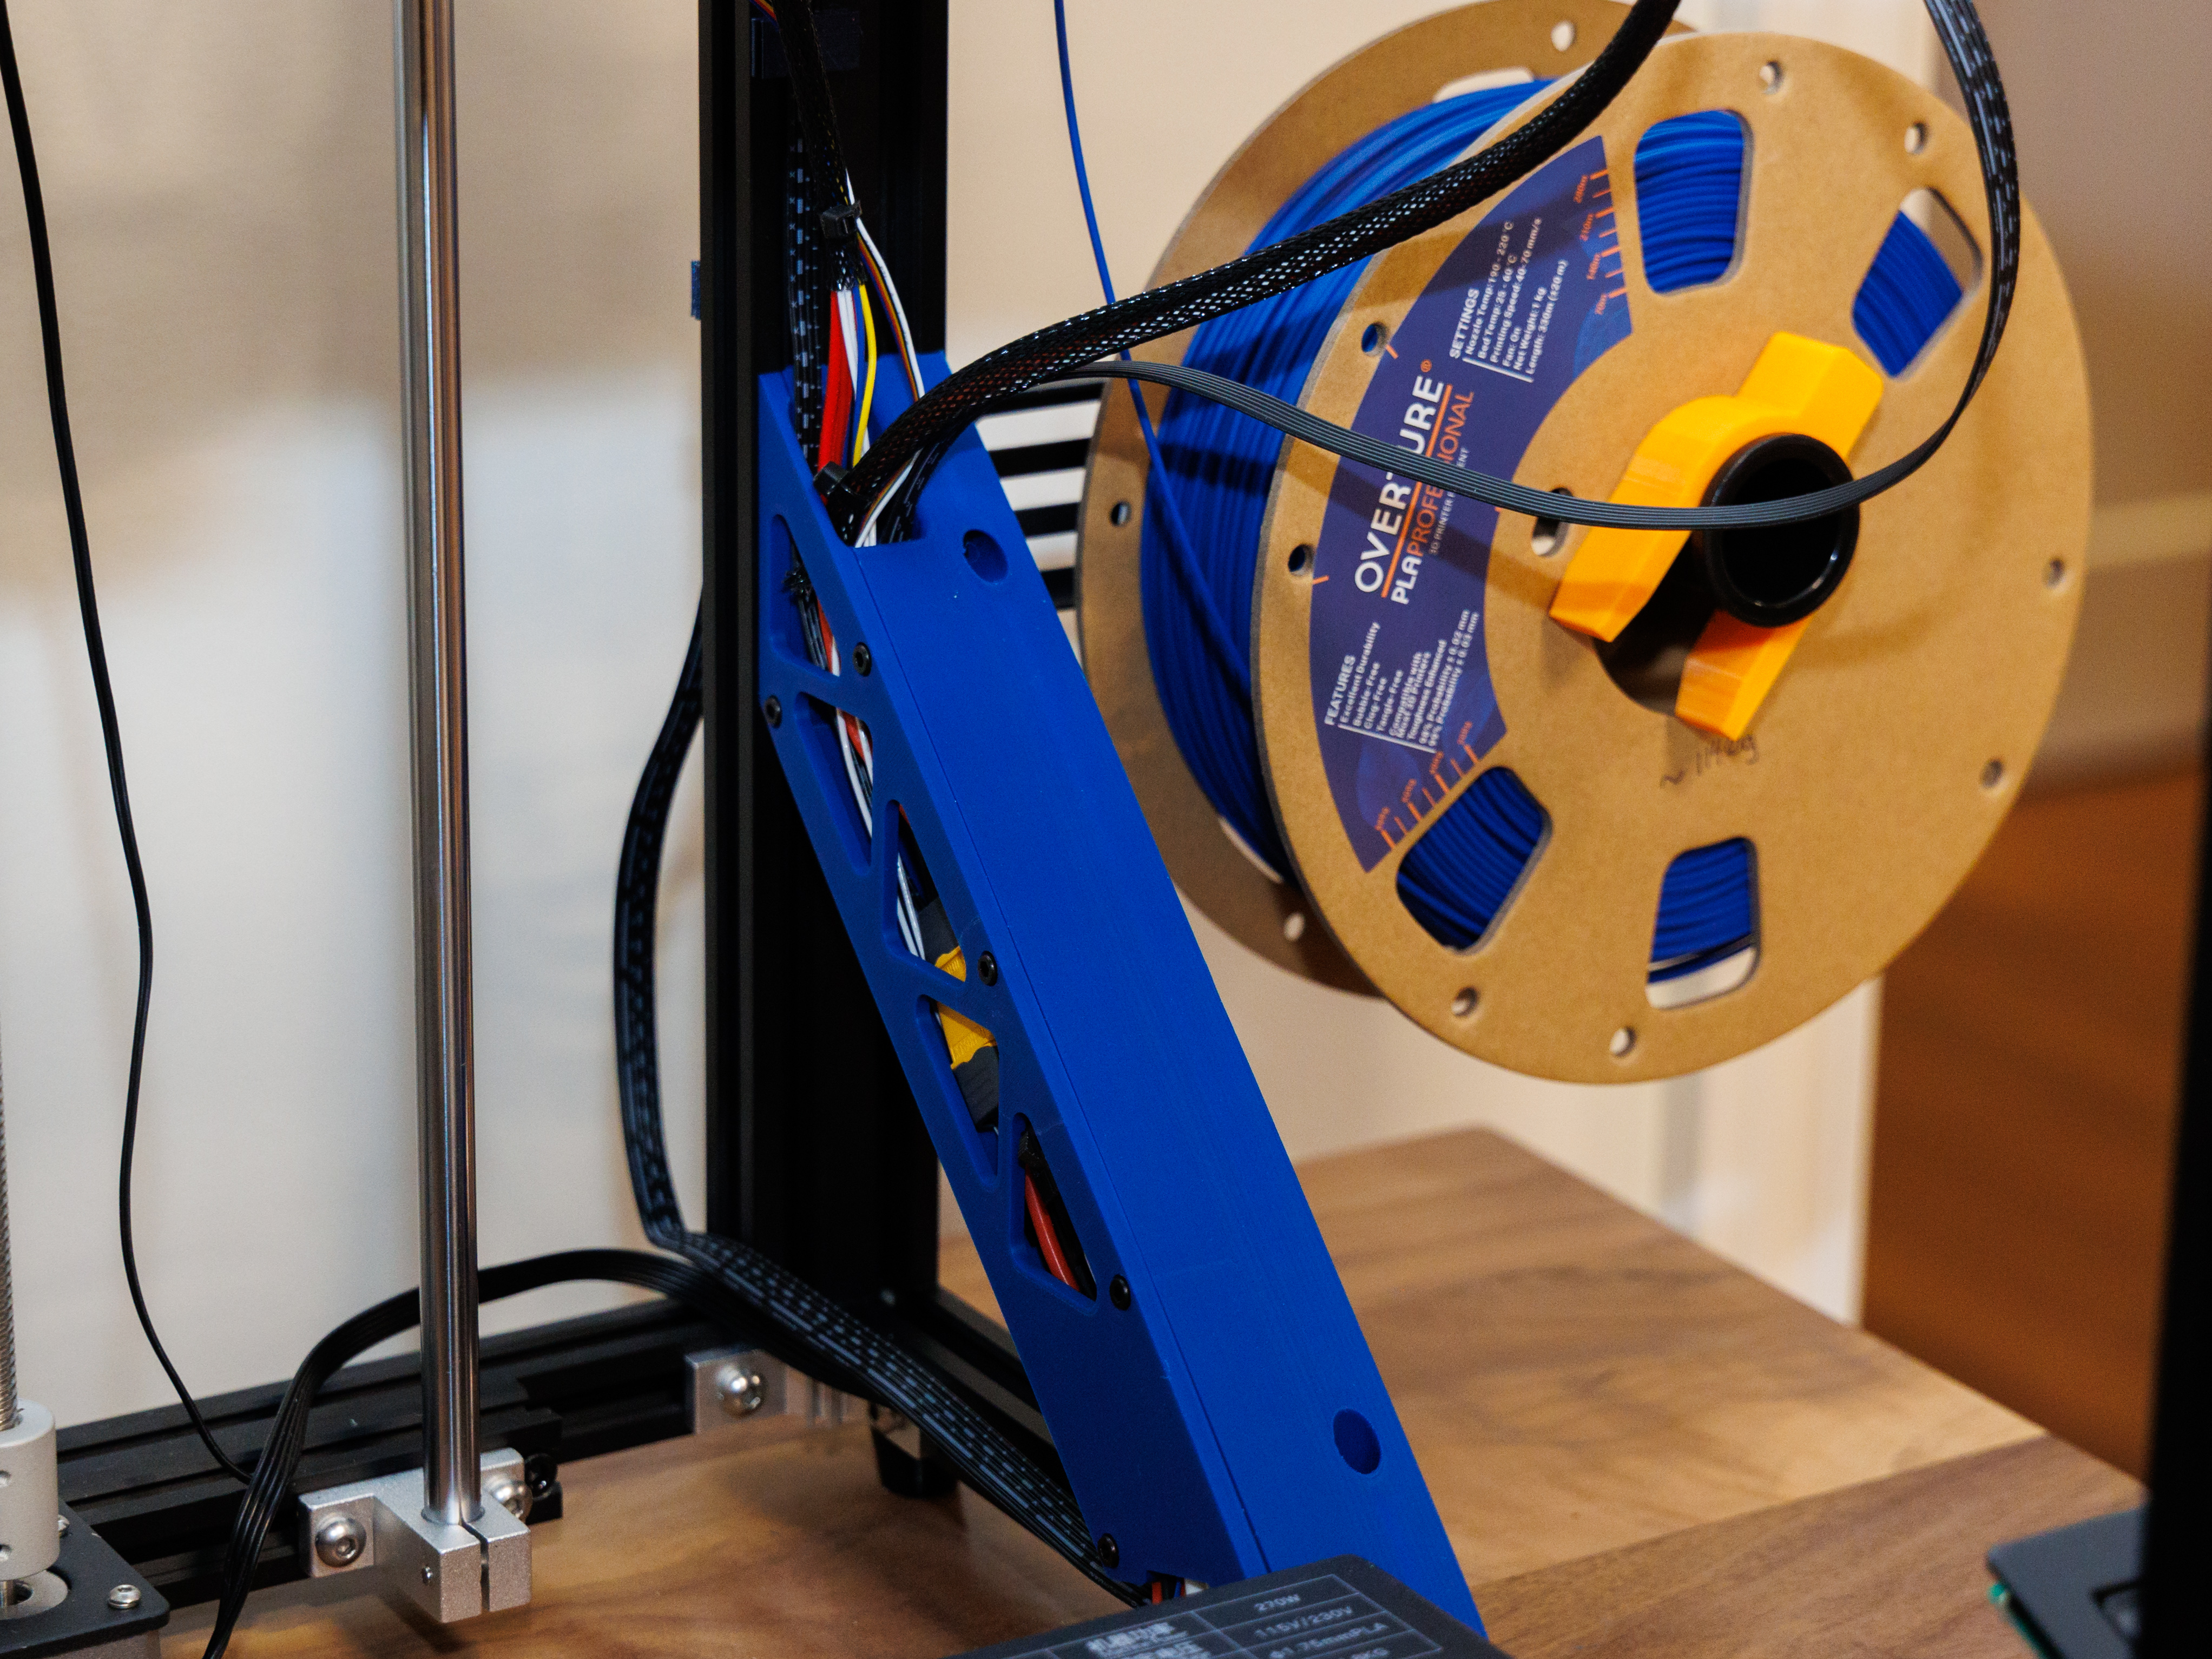
The Ender 5 comes with a bunch of zip-ties for tying up all your cables neatly, but anyone who's actually tried to do this knows that the cables are all just a little bit too short. I was thinking about adding extension cables to my cables, and actually ordered the connectors I needed from Aliexpress, but then I was looking at a post about adding braces to the corners of the ender 5 (such as this set from dbltrbl023 or this one from itsmewoodman) to make the frame a little stiffer. That was when I had a lightbulb moment, and thought "Why not make a corner brace with a conduit to run cables through?" This brace fits in the bottom back right corner of your printer, and you run the hot end, heated bed, extruder, and x-axis stepper motor cables through it. There's also a "clip" that can be attached to the top back of your printer (on the top back rail, between the z-axis assembly and the y-axis limit switch) to keep the hot-end cables in place. A cover keeps all your cables tidied away, held in place by screws. PrintingFirst, if you're printing the through-hole version, double check you can see a big "TH" on the part in your slicer (and if you're printing the heat-set-insert version, verify you can't). Printing does not require any additional supports. There are "built in" cross-shaped supports for the counterbored holes in the cover. These can be removed after printing either by twisting them out with needle-nose pliers, or by just pushing a screw through the cover backwards. I printed with Overture PLA+, with 30% infill and octet subdivision at 90 and 180 degrees (since the brace prints diagonally). Since this is a larger print with pointy ends, it's worth bumping your bed temperature up slightly or using a brim (or both) to prevent the ends from lifting up and warping while printing the brace. The cover is thin enough it will probably print fine without any of that. The files included are: HeatSetCableBrace and HeatSetCableCover - Brace with attached cable conduit and cover, using heat-set inserts to attach the cover to the brace.ThroughHoleCableBrace and ThroughHoleCableCover - Brace with attached cable conduit and cover, using nuts and very long screws.ZipTieCableSupport - Twist this into place in the upper right corner of your printer, and run the hot-end cables through it with a zip-tie to keep them in place.SideBrace - A brace without the cable conduit, which you can use on the sides of the printer. These are sized so you can fit two facing each other at the sides.FrontBrace - A brace for the front or back of the printer (ever so slightly smaller than the SideBrace).AssemblyThis desgin uses heat-set inserts. If you haven't used them before, there's a good [tutorial available here](https://hackaday.com/2019/02/28/threading-3d-printed-parts-how-to-use-heat-set-inserts/). I highly recommend giving them a try - they really class up a 3D print. ;) You need: 2 M3x12 screws and 2 M3 2020 t-nuts (or from AliExpress). If you don't want to order 100 t-nuts when you only need two, you can also print some or these.Some small zip-ties.For the heat-insert version (the two HeatSet files), you need: 5 M3 Inserts (or from AliExpress), with a 4.6mm OD and about a 6mm length. The exact length isn't important.5 M3x6 screws (M3x4 or M3x8 will do in a pinch).A soldering iron (I used a Weller WCL100 40-Watt soldering iron set at about 80%.)An M3 heat-set insert soldering iron tip.For the through-hole version (the two ThroughHole files), you need: 5 M5x45mm screws or 5 10-24x1-3/4" screws and matching hex nuts.Print the cable-brace and cover and install in the back right corner. Put your hot-end, heated bed, extruder and x-axis stepper motor cables inside - they all come out through the hole in the top. Attach the cover and screw it in place. Print the included "ZipTieCableSupport" and put it in the top back right corner. You can route your hot-end cables through this and tie them in place with a zip-tie (but not the heated bed or x-axis cables). With the machine powered off, try moving the hot-end carriage to the four corners of your bed, and make sure your cables aren't being stretched or pulling. Move the z-axis up and down by rotating the z-axis screw - again, move it to the far extremes, and make sure your heated-bed cables aren't doing anything weird. Finally, enjoy your tidy cables! AcknowledgementsIf you print this, please post your make. I'm a bit of a 3D printer n00b and I'd love to see your prints! If you have any suggestions, I'd also enjoy hearing them in the comments. The Fusion360 file is included if you want to remix. This design isn't exactly a remix of any other specific design, but it was defintely heavily inspired by the aforementioend braces from dbltrbl023, and these very clever cable clips from rmpel, and special thanks to Artxime and his fantastic Ender 5 Fusion 360 model.
Tags: brace, cablemanagement, ender5, ender5pro, resin print, nz made, made to order
Design credit: Original design by Jason Walton - licensed under CC-BY-SA.
View original model + STL files on Printables ↗
View original model + STL files on Printables ↗
Frequently asked
How long does shipping take?
Ender 5 Cable Management Brace is printed to order. Lead time is typically 1-3 business days plus 1-4 days NZ shipping. Standard NZ shipping is $10, free over $75.
What material is this printed in?
By default this is printed in PLA (filament) at 0.025 mm layer height on an MSLA resin printer. Custom material and colour swaps are available, just leave a note at checkout.
Can I get this in a different colour?
Yes. Every product can be printed in any of the resin colours we stock, or hand-painted on request. Leave a note at checkout or email hello@3dprintworld.co.nz.
Do you ship outside of New Zealand?
Currently New Zealand only. Australian shipping is coming.
Who designed this?
Designed by an independent sculptor and licensed for commercial printing. The original is linked on this page.